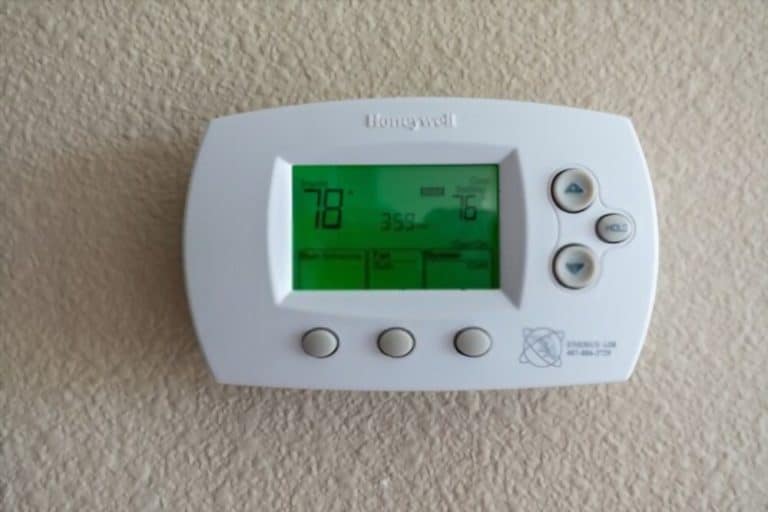
The common issue of Honeywell thermostats providing lackluster heating, poor airflow, or no heating at all can be extremely irritating. Here’s what you need to do to fix heating issues with your Honeywell thermostat.
Generally, heating issues on your Honeywell Thermostat is caused by improper configuration, incorrect location, low power supply, and faulty components. To fix these issues, ensure that your thermostat is configured according to your HVAC system, is located somewhere without temperature fluctuations, and is wired with the correct voltage.
Heating problems with your thermostat can be complex and difficult to diagnose.
The rest of this article will dive into the common problems you may encounter and how you can fix them. Also, if you have questions regarding EM Heat, feel free to read our researched article “When and How to use EM heat on Honeywell thermostat“.
What Causes Heating Problems with Honeywell Thermostats?
There are a number of issues underlying problems with the heating system. If you’ve set your thermostat to Heat Mode, but nothing is happening, it could be as a result of the following problems:
- Faulty thermostat wiring
- Faulty sensors
- Dead batteries
- A tripped circuit breaker
- Improper configuration of the thermostat
- Improper placement of the thermostat
How To Fix Honeywell Thermostat That Won’t Turn on Heating System?
There could be several reasons why your honeywell thermostat not turning heat, however you can easily fix this issue by going through the below troubleshooting tips one by one.
Faulty or Improper Wiring
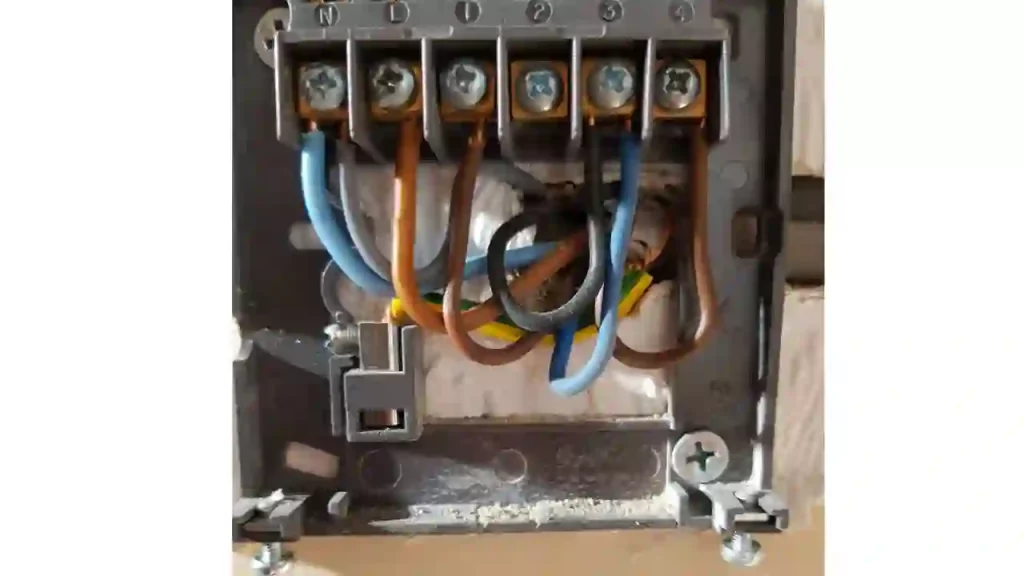
As with any electrical system, it’s important that all the wires connected in your thermostat are tightly installed into the right terminals.
If you’re not comfortable working with electrical components, then it’s probably best to contact a licensed professional to do it for you.
In addition, as you’re working with electrical wiring, make sure everything is disconnected and that you’re wearing protective gloves before you start repairs.
Every wire connected in the thermostat is labeled by letter, as are each of the wire terminals. Ensure the wires are aligned with the corresponding letters in each terminal.
Honeywell’s official troubleshooting site provides helpful insights into re-pairing wiring along with useful diagrams that you can reference as you work.
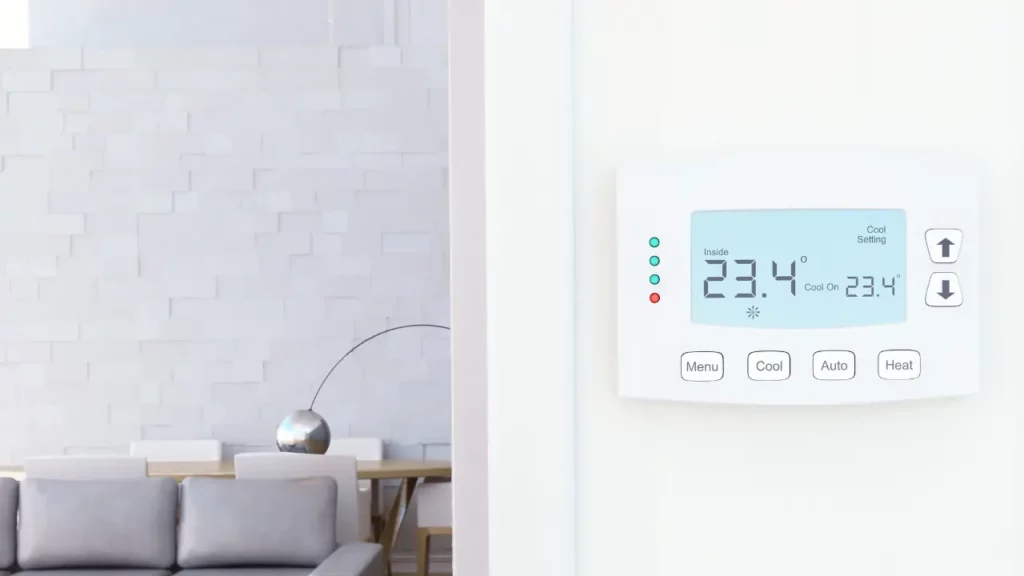
Faulty or Broken Sensor

All thermostats need to monitor the temperature around the system to be able to adjust temperatures according to your preferences.
If these sensors are impaired or faulty, then the internal temperature reading that the thermostat is basing its temperature adjustments on could be inaccurate.
In other words, if the sensor is reading a temperature of 74°F when it’s actually 78°F in your home, then the thermostat will modify the temperature incorrectly, creating uncomfortable conditions in your home.
When the thermostat misreads the temperature in the room, it may not turn on the heating system as it should, even if the room is cold.
To check for a faulty sensor, take a thermometer and measure the temperature in the room, comparing it to the reading on your thermostat.
If the two are significantly different (more than 2 degrees), then the sensor may be malfunctioning. Contact your trusted electrician to inspect your smart thermostat and replace the temperature sensor if necessary.
Dead Batteries
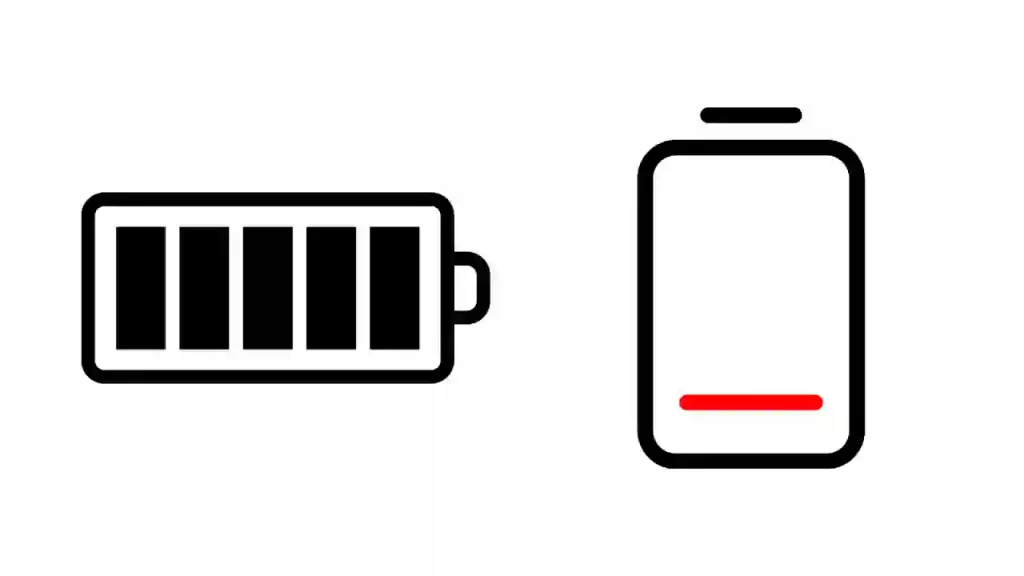
As simple as it seems, dead batteries are a common cause of the heating system not turning on. Your Honeywell smart thermostats needs a voltage of 24V to function properly. When the batteries start to wear out, the thermostat may fail to perform most of its key functions.
To fix the issue, all you need to do is install a set of fresh batteries, either AA or AAA, depending on the model of Honeywell thermostat you have. Follow these steps to install new batteries safely:
- Turn off the power from the circuit breaker by moving it to the Off position.
- Pull the faceplate from the mounting wall plate to reveal the battery. If your base plate has hinges, unhook the device from the hinges.
- Detach the battery compartment and remove the old batteries.
- Insert the new batteries.
- Remount the compartment to the mounting plate and press the faceplate back on.
- Switch on the thermostat at the circuit breaker.
If the batteries were the culprit, then the heating system should function properly shortly afterwards.
Tripped Circuit Breakers
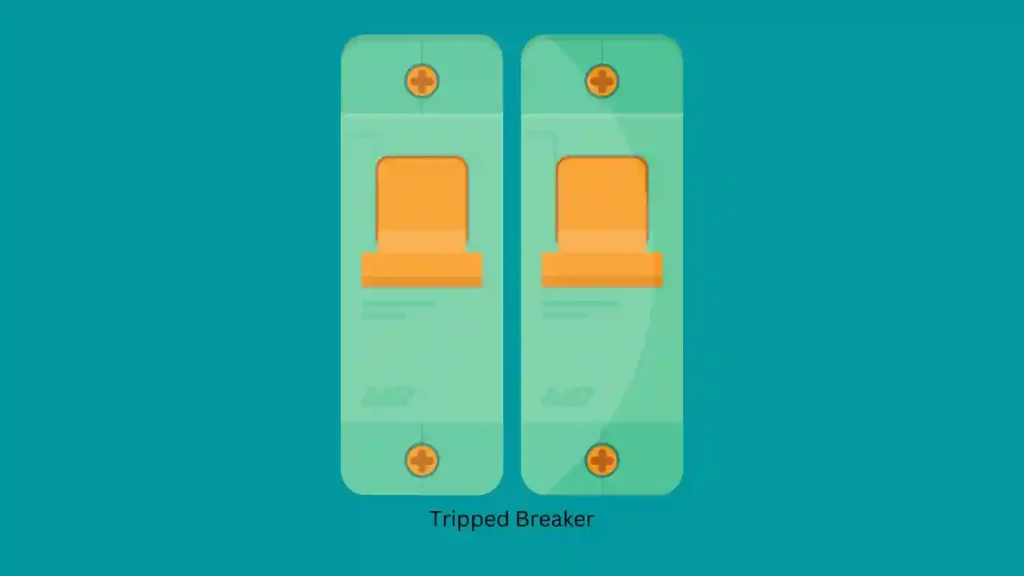
In rare occasions, your circuit breaker for the thermostat may trip, turning it off entirely. While a non-functional thermostat is easy to identify, it may not occur to you to check the circuit breaker.
Head to your electrical panel and turn the thermostat circuit breaker back on if it’s in the OFF position. If the thermostat is already in the ON position, turn it off and back on again. Doing so might clear out any minor glitches in the system and prompt the heat to turn on again.
Improper Configuration
In order for the thermostat to effectively regulate temperatures in your home, it needs to be configured correctly.
Follow these steps to adjust the configuration of your thermostat:
- Press the button below System and wait for the thermostat to display your model ID.
- Tap the model ID and select Installer Option.
- Locate your Data Code on the back of the thermostat and enter it when prompted.
- You should see your installation settings pop up, after which you can hold the up arrow and Fan button to configure your settings.
- Choose thermostat setting number 1 for your heating and cooling system, under which there will be 4 options:
- Select 0 for a furnace system used with Air Conditioner.
- Select 2 for a heater.
- Select 3 for a heater with a fan.
- Select 4 for exclusive cooling system operation.
- Choose the option for your HVAC, select Done, then Exit.
You should properly interface your thermostat with your heating system.
Improper Placement
Depending on where you place your Honeywell thermostat, external environmental conditions can confuse your temperature sensor.
If your sensor is above a fish tank, near a window, or close to an air vent, change the location for the best results.
We strongly recommend that if you have a dual-fuel system (combining heatpump or electric furnace and oil/gas as back up), contact an HVAC professional. Doing so can ensure the system operates optimally, saving time and money in the long run.
Final Thoughts
When your thermostat doesn’t turn on the heating, there can be lots of different problems to blame: faulty thermostat’s wiring, thermostat location, configuration—even something as simple as a dead battery can cause your heating not to work as intended.
If the issue persists after you’ve checked that the thermostat is correctly located, configured, equipped with fresh batteries, and set up with proper settings, contact your trusted HVAC system technician to inspect your thermostat.
They will have the experience and expertise to help you identify the cause of the problem and recommend any necessary repairs or replacements. However, if you are facing problems with your AC then read our troubleshooting guide on How To Fix Honeywell Thermostat That Won’t Turn On AC.
Frequently Asked Questions
Why is my thermostat not turning the heat on?
If your thermostat fails to turn on heat, the first step should be inspecting the thermostat. You may need to replace its battery if it’s not hardwired or reset settings caused by a power surge or brief power outage. Having a working thermostat is essential for ensuring that you don’t experience long-term issues with your heating system.
How do you reset the heat on a Honeywell Home?
To reset your honeywell home device, press and hold the blank box in the center of the screen. Then, set numbers on left side to 0710 and right to 1 respectively before pressing ‘Done’.
Well done! You have successfully reset your device; you can now configure settings through its thermostat screen.
How do I reset my thermostat for heat?
Resetting a thermostat is a simple process, which involves reversing the battery polarity for 5 seconds (+ to – and – to +), pressing down on any recessed reset button with something such as a pin or paper clip, or cutting off power from the breaker switch connected to your device for 30 seconds.
Will low batteries affect thermostat?
Programmable thermostats use batteries to keep their settings inplace in case of a power outage. Without them, not only will those precious configurations be lost but so too is your power to effectively manage and regulate your HVAC system.