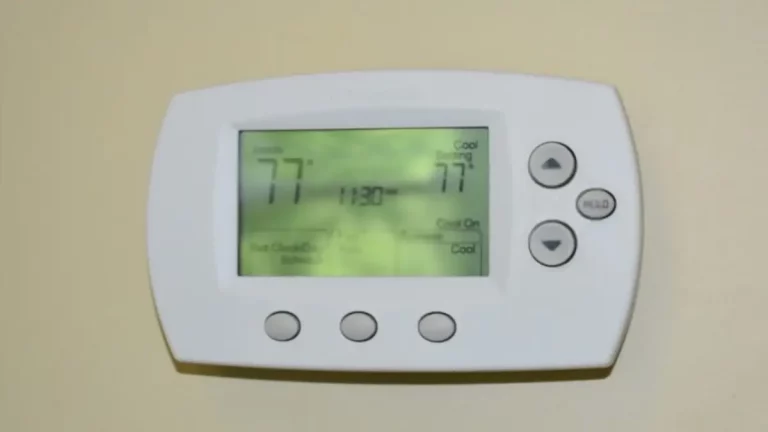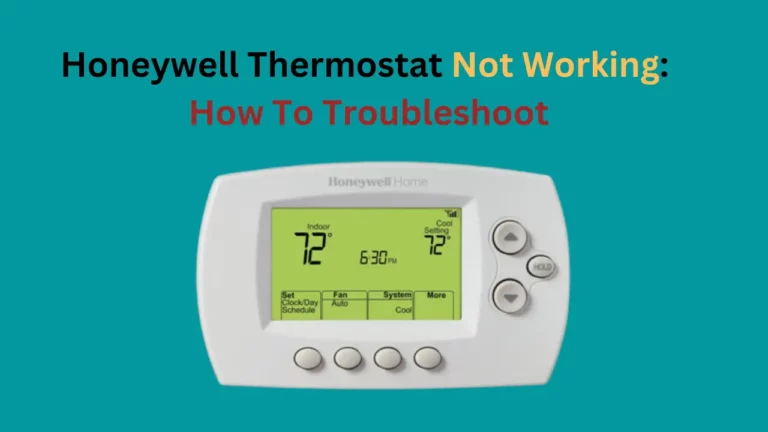
I recently bought the Honeywell thermostat for my home. People who come to my blog regularly know that I had been using the Nest Learning thermostat previously but looking at the demand and reviews of the Honeywell Thermostat, I thought of trying one and see how good it is compared to Nest.
But this article is all about the setup process for Honeywell Thermostat. Since I am new to using it and couldn’t find the exact setup steps while searching on the internet, I thought of sharing this with you all.
There are a lot of benefits that a smart Wifi thermostat provides, you can control your home temperature using your smartphone and even set up the temperature when you are on a vacation or away and need to save money on your energy bill.
But before we talk about the benefits of using a smart thermostat, let’s get into how to do a Honeywell thermostat Wifi setup!
Two things you need before you connect to a wireless network-
- Wireless Network Name (SSID)
- Wireless Network Key (Password)
How To Set up Honeywell Thermostat Wifi?
So, before we start to connect the Honeywell thermostat to wifi, download Honeywell Total Connect Comfort App.
Use the below steps for Honeywell thermostat wifi setup:
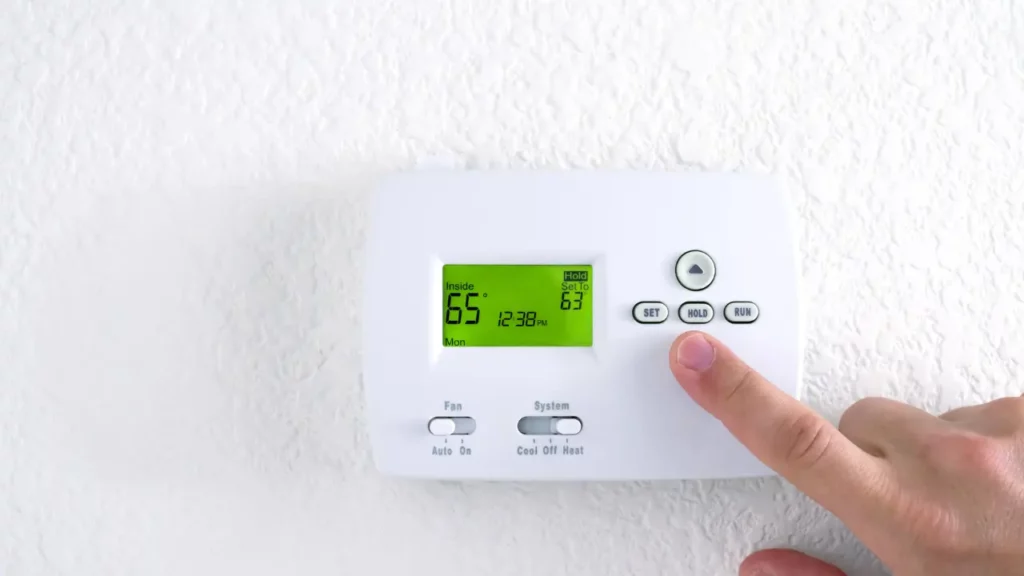
- Most of the time, you will see the “Wi-Fi SETUP” displaying on the thermostat screen. If you don’t see it, you can put it in to set up mode manually.
- Press and hold the FAN and UP button for 5-10 seconds. You will see 2 numbers appearing on the screen.
- Now, use the NEXT button and change the number to 39.
- Use the Arrow keys and bring the number to 0 and press Done.
- Voila! You are done with bringing the Honeywell thermostat to wifi setup mode.
- Search the network that starts with NewThermostat….. and connect your smartphone to the network.
- Open your web browser and it will automatically take you to the Wifi setup page. If it doesn’t open automatically, you can open the address http://192.168.1.1 in your browser.
- Now, search your home wifi and connect to it and Enter the password if prompted.
- You will see a waiting message appearing on the screen and once the process is completed it would go away automatically.
- Now, you can control your thermostat through the App or website.
What are the benefits of using a smart Honeywell Wifi Thermostat?
There are multiple benefits of using a Honeywell Wifi thermostat and you can realize it yourself if you can get one for your home from here.
But if you are not using a Honeywell Wifi thermostat, you might be missing some of these benefits.
Set Alarms for Increase or Decrease in Temperature
When your thermostat is connected to your wifi, you can set alarms for an increase or decrease in the temperature of a room or the humidity in a room goes up or down.
You can get the alerts on your phone as well as on your email ad you can adjust the temperature from anywhere in the world. You just need an internet connection on your smartphone, Tab, or computer.
Use Voice control
I am a great fan of Alexa and all the smart gadgets in my house are connected to it so that I can control all the smart devices with just my voice.
Honeywell has understood the demand for voice-controlled gadgets in the market and therefore, Honeywell Wifi Thermostats have voice-activated control.
You can control our thermostat by just saying, “Hello Thermostat”.
Monitor temperature of multiple rooms
I love to monitor the temperature of my kids’ room and you should too if you have kids in your house. The ease of monitoring the temperature of all the rooms makes my house safer for my family.
You can also monitor the humidity of all the rooms through your smartphone.
How To Register your Honeywell Thermostat?

When you use your device for the first time, registration is needed. You can register your device by following the below steps.
- Go to “https://www.mytotalconnectcomfort.com/portal”.
- Click on “create on Account”, if using a new thermostat, or click on “Login” if using a used thermostat.
- Click on “Add a Device” and enter MAC ID / CRC. You can find this MAC ID on the back of the thermostat.
- Follow the on-screen instruction and your device will be registered.
- You will get the confirmation message once the thermostat is registered.
Registration Failed – what to do?
Not to Worry!
Some of the time registration fails and mostly it happens when you are using your used Honeywell thermostat and the previous has not deleted the account.
In this case, you can contact the previous owner and ask them to remove the device from their account or you can contact customer care to deregister the device.
Conclusion
Honeywell Thermostat Wifi setup is 5 mins job if you know the exact steps. Once you connect your Honeywell thermostat to Wifi, you can monitor and control your house temperature, humidity and even see the outside temperature from anywhere around the globe.
I am liking this thermostat and if you need to know How To Set Honeywell Thermostat Temperature you can go through my article where I have included the troubleshooting procedure for all models.