Do you want your Google Nest thermostat to hold the temperature? And you didn’t find the exact guide to help you out.
Don’t worry!!! You are at the right place.
To hold the Temperature on the Nest thermostat:
- Open Google Home App on your smartphone.
- Ensure that your thermostat is in Heat, cool, or Heat & cool mode.
- Select your Temperature and the end time for hold.
- Click on Start to put your thermostat temperature on hold.
Which Nest Thermostats can Hold Temperature?
There are 3 different nest thermostat models, i.e., Nest Thermostat E, Nest Learning Thermostat, and the Nest Thermostat, that are currently available in the market.
You can easily set the thermostat to hold the temperature in the Nest Thermostat model. However, with the other two models, Nest thermostat E and the Nest Learning Thermostat, the hold temperature feature still needs to be made available.
But why should you set the thermostat on hold, and how could this be quickly done with your Nest thermostat? Keep reading to know this.
Why Set Nest Thermostat To Hold Temperature?
You can have different reasons for holding the preferred temperature on the Nest thermostat.
For example, suppose you are outside and have an elderly person at home who can’t move a lot, and you wish to keep those household members comfy and generally too. In that case, the automated temperature change might be troublesome.
To maintain complete control over your home’s temperature settings even while you are away from the house, you can, like other people, opt to set the thermostat to keep the current setting.
Also Read – How To Calibrate Your Nest Thermostat?
How to Set Nest Learning Thermostat to Hold Temperature?
Disable Auto-Schedule
The Nest Learning Thermostat automatically constructs a schedule based on your schedule and temperature preferences after learning them.
If you enable this learning option, Nest won’t hold the temperature and will keep auto-scheduling your temperature settings.
When you initially install the thermostat, it is already switched on by default. You will have to disable the “auto-schedule” feature to hold the temperature on your Nest thermostat.
You may disable auto-schedule in two ways: through the thermostat or using the Nest mobile app.
Disabling Auto Schedule Using the Nest App: (1)
- Open the Nest app, and choose your thermostat from the devices list.
- Choose “Settings.”
- Go to the “Nest Sense.”
- Navigate to and choose Auto-Schedule.
- Turn off the Auto-schedule by clicking on “Off.”
Using the Nest thermostat:
- Click on the thermostat display to activate the main menu.
- Choose Settings.
- Navigate to “Nest Sense” and click on it.
- Choose Auto-Schedule.
- Turn off the Auto-schedule.
- When you choose “Off,” Nest will flash “Turning Off Auto-Schedule” for around three seconds.
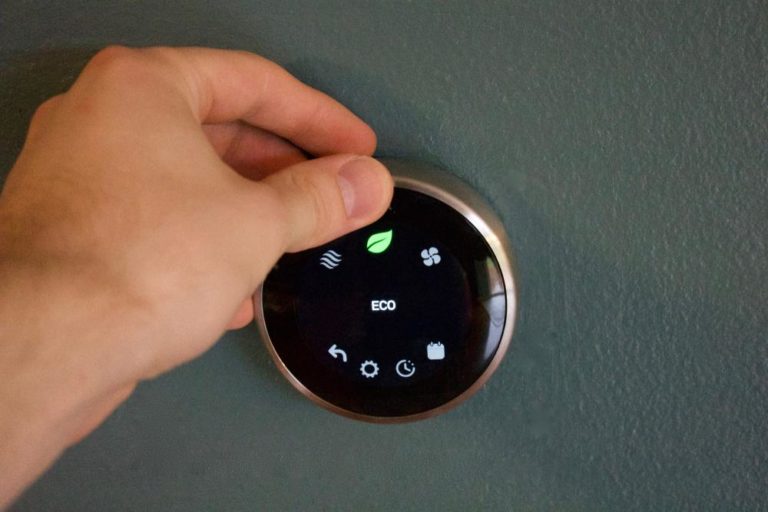
Disable Eco Temperatures
When Nest detects that nobody is home, a function known as Eco Temperatures will automatically adjust the specific temperature inside the house. Eco Temperatures is intended to help you preserve energy and save money and therefore regulate the temperature so that the HVAC systems can run less frequently.
The issue with Eco Temperatures is that even with the option turned on, if everyone has left the house, your thermostat may still revert to its Eco Temperatur, removing the hold temperature that you had previously set as a result. The feature is helpful, but there are some situations in which you want to keep the desired temperature regardless of whether Nest believes you are home or not.
There are two methods to disable Eco Temperatures: directly on the thermostat or via the Nest mobile app.
Using the Nest App:
- Go to the Nest app and choose your added thermostat.
- Choose Settings.
- Navigate to and choose “Home/Away Assist.”
- Click on the “off” setting.
Using the Nest Thermostat:
- To open the main menu, click on the thermostat display.
- Choose Settings.
- Choose the Option “Eco”.
- Scroll to the bottom to change Settings “Heat To” to “Off.”
- Scroll to the top to set “Cool To” to “Off.”
- To keep the changes you’ve made, navigate to and choose Done.
Reset the Schedule
You can reset the Nest schedule using two methods: either by using the Nest App or using the thermostat itself.
Given are the steps to reset the schedule using the Nest thermostat:
- Tap on the thermostat display
- The main menu shall appear.
- Tap on the settings icon.
- Scroll down to the schedule option
- Click on it, and you will see a reset option.
- Click on reset.
- Nest will take a while before your thermostat’s schedule is completely reset.
A countdown of up to 100 will be visible on display. You can cancel the reset during this time to prevent the loss of your previous settings.
Create a new Manual Schedule
If you want to avoid holding the temperature on the Nest thermostat, you can set a schedule manually to control temperature settings more effectively.
Your Nest will operate similarly to a standard Wi-Fi-controlled programmable thermostat.
In a Nest thermostat, if you don’t create a schedule after clearing it, your thermostat will remain at the same temperature you set it to until you choose a different setting. It will therefore function similarly to a conventional non-programmable thermostat or “hold” mode on a programmable thermostat.
A manual schedule can be set in two ways: either through the app or the thermostat.
Given below are the steps to create a manual schedule:
Using the Nest App:
- Launch the Nest app; the main menu shall appear.
- Tap on the calendar-looking icon.
- Set the appropriate temperatures for each day and time.
Using the Nest thermostat:
- Tap on the Nest Thermostat display. The main menu screen should follow it.
- Choose Schedule.
- Now, you can create a schedule of temperature settings for different times of the day.
- You can create schedules for different modes such as heat, cool, heat & cool as well.
Why Does the Nest Thermostat Keep Changing Temperature?

The Nest thermostat is a device that works smartly after learning through the settings and preferences that you set on the device. As a result, it will make an effort to select temperatures similar to those you generally select for such time of day.
For instance, if you like colder indoor temperatures at night, the Nest will lower the temperature on its own without you having to change the temperature.
If you want the Nest to maintain a constant temperature rather than modify the temperature itself. In that case, you must switch off the Auto-Schedule option to disable the learning feature.
If, over time, your Nest learns to hold the temperature at the correct settings correctly, you can always switch this function back on.
How Can I Stop the Nest Thermostat from Changing Temperature?
If you are not satisfied with the automatic temperature changes that the Nest thermostat makes to your home, you can disable the learning feature for your device.
Because of the learning feature, the nest thermostat remembers all your settings at corresponding hours of the day and switches to that setting without considering the weather changes outside.
There’s a chance this feature is ineffective for you if you live in a place with highly variable weather because then Nest’s limited learning would be unable to provide the comfortable temperature you would want.
Another option you have is to delete the temperature set points. This will run your device out of options to automatically adjust the temperature since it won’t have any available database to count on.
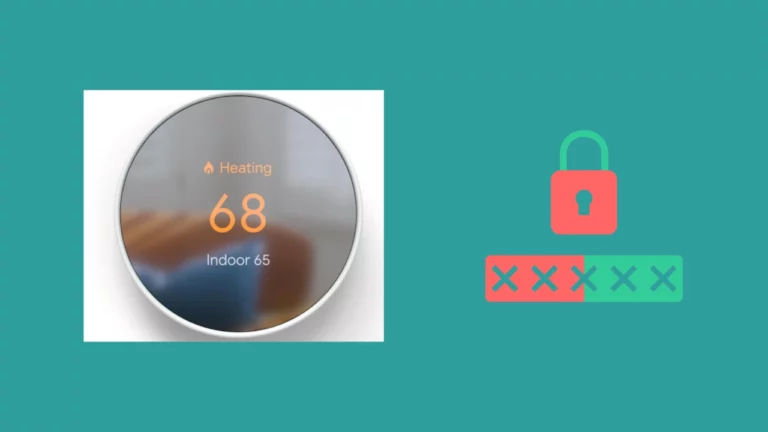
How Do I Lock the Temperature on My Nest Thermostat?
It might be useful to lock the temperature on your Nest device to ensure that nobody else messes with your settings, especially if you are hosting a children’s party at your home and you don’t want the temperature of the house to suddenly drop or rise, since children are prone to tap and interfere with random things.
Locking temperatures will ensure that the temperature setting won’t alter automatically or manually, regardless of how much effort is taken to that effect on the Nest device.
You can select a temperature range for any manual adjustments once you have switched your device to either Heat Mode or Cool Mode. The minimum range you can select for this purpose is five degrees.
However, you may select any range, even to just a single degree, if you lock the temperature of your Nest thermostat manually using the mounted unit.
Select a range of two degrees or more if your device is in Heat or Cool Mode.
Conclusion
Nest smart thermostat’s easy operation helps you to automate daily tasks. Automation, however, doesn’t solely determine the temperature conditions of your house. You have many options if you do not want the smart thermostat to take over the temperature regulation of your house.
You can either disable the learning feature of your thermostat, disable the auto-schedule or lock the temperature at specific settings. We have listed steps for how you can achieve these.
If you attempt our steps and still can’t figure out how to lock the temperature or disable the auto-schedule, you can always reach out to customer support with any of your queries.
The support professionals have the information handy so you won’t have a problem post-contacting them.
Frequently Asked Questions
How to set the Nest thermostat to hold the temperature without the app?
If you can’t use the Nest app to hold the temperature, you can do it directly through the Nest Thermostat.
Tap on the display to activate the main menu screen, select schedule, and scroll to reset.
Once your schedule settings are clear, your thermostat should hold a constant temperature. You can also turn off the auto-schedule option using the thermostat directly.
How To Manually Override A Nest Thermostat?
Follow the below steps to manually override a nest thermostat:
- Select Settings from the Main Screen of your thermostat.
- Continue to scroll to the right until you reach Nest Sense.
- Ensure that the Nest Sense settings are displayed by tapping or clicking on Nest Sense.
- Choose the Auto-Schedule option and click on NO from the options available.
- Then after, scroll down to the Done option and click on it.
- To access the Echo Setting now, you have to scroll to the left.
- Choose ECO, and then choose OFF for the Set Heat to and Cool to options.
- After clicking Done, move back to the left and click the “Home Away” Assist option.
- The “Stop Using” option will appear when you tap on it. Make sure to click on it.
- Keep scrolling to the right from the Settings Menu until the Reset button appears.
- Click the reset button, select the schedule option, and click reset again.
- Your thermostat will restart in seconds and reset all your auto-schedules and dates. Once it has rebooted, your thermostat will enter Manual Mode.
Can you lock the temperature on nest?
Yes, you can lock the temperature on a Nest thermostat. To lock the temperature:
Go the Settings menu and select Temperature Lock.
You can then set a custom PIN code to prevent unauthorized changes to your desired temperature settings.
If someone attempts to change the temperature settings without your permission, they will be prompted to enter the four-digit code.
If the correct code is not entered, the temperature will remain locked. This feature ensures that your desired room temperature is maintained without any unauthorized changes.
You can also enable and disable Temperature Lock from the Nest app on your smartphone or tablet.