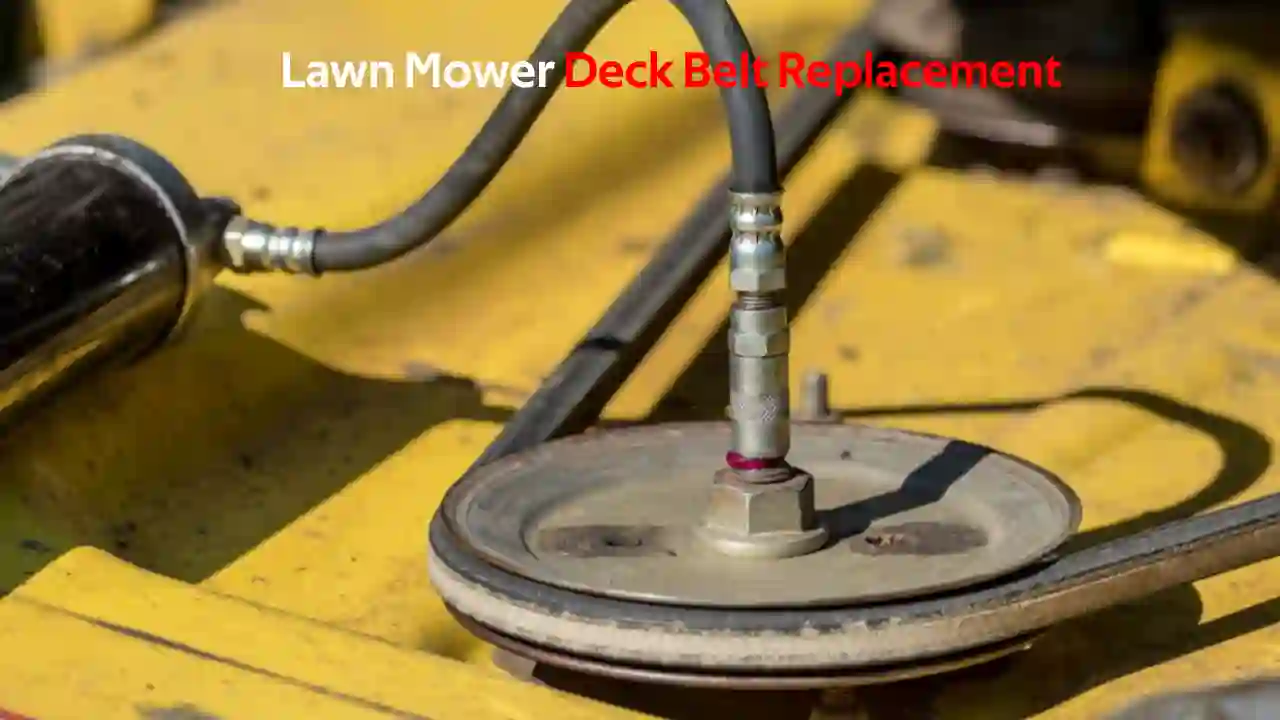
Replacing the mower deck belt on your riding lawnmower is essential to keep it in good condition and working as intended. However, not everybody knows how to replace a deck belt, especially if you’re new to the riding mower scene.
Since this process can be time-consuming and nerve-wracking if you are unsure of what to do, I have made a step-by-step guide to help you do it correctly and efficiently.
If you have the right belt for your mower, switch it off and unplug the spark plug cable. Next, lower the height to its lowest setting and remove all the parts keeping the belt in place. Remove the belt and insert the new one in the same place. Reattach all the components to complete the process.
Though replacing a belt on a lawnmower might seem easy to some, there are a lot of intricate details that you need to consider.
Some of the intricacies and steps in replacing the belt are more complex than others.
It is also essential to guarantee that you follow the steps correctly as they are set in place to help you finish the task while being safe.
Step-By-Step Guide For Replacing Mower Deck Belt
The steps below will explain the easiest way to replace a mower deck belt on your riding lawnmower.
Ensure that you go along all the steps needed to ensure your safety, as an action done wrongly could result in serious injuries.
Ensure your riding mower is off
The first and most crucial step is to ensure that your riding lawnmower is off and the sparkplug cable is disconnected.
Disconnecting the spark plug will ensure that your mower does not accidentally start. It is also best to ensure that your brakes are activated and that your mower will not move while you are busy.
Lower the deck height
Once your lawnmower is off and secured, lower the blade and deck height to its lowest setting.
Reducing the height will enable you to reach the belt’s area and access the belt guards that you need to take off to replace the belt.
Remove the deck belt guards
With your mower lowered, you can start unscrewing the deck belt guards and remove them once the screws or bolts are released.
If you are unsure of what they look like, please consult your user guide, as this might help.
Remove the belt-keep rod
You should be able to see an attachment around the engine pulley. Remove it to allow you to remove the belt.
Loosen the bolts of the idler pulleys
Without removing them completely, you can loosen the bolts securing the pulleys to allow you to remove and replace the belt more easily.
Take a photo of the belt’s route
This is an essential part if you have never done this before or are changing the belt on a new riding mower.
Taking a photo will help you replace the belt later. Additionally, there is also a chance of a diagram or image included in the mower’s user manual.
You can consult the manual if the belt has snapped or is already off.
Remove the old belt with the new one
Once you have a photo of the layout, remove the old belt and use the picture to help you guide the new belt into the place of the old one.
Readjust the idler pulleys
Now that the new belt is in place, you need to refasten the bolts keeping the idler pulleys in place.
This step will ensure that the belt will not slip or simply fall off because the pulleys move around instead of being steady.
Replace the keeper rod and guards
You can now replace the belt-keeper rod, the attachment for the fourth step back into place.
Once that is completed, you can continue and secure the deck belt guards back. Be sure to replace all the parts in the right places to ensure that you will not damage the riding mower or yourself.
Once you have completed these steps, you have replaced the mower deck belt. (Are mower deck interchangeable?)
However, it would be best to use the right belt for your mower, so be sure to consult the user guide or find information online for your specific model.
The Checklist After Replacing Your Mower Deck Belt
Though you have successfully replaced the mower deck belt on your riding mower, there are some other things you need to do before getting to work again.
The steps below will help you ensure that your mower deck belt is in place and secure.
These steps are vital to ensure that your mower is working correctly and avoiding injuries.
Raise the mower deck and reconnect the spark plug wires
Once you have replaced the belt correctly, you need to raise the riding lawnmower’s deck height and reconnect the spark plug to switch on.
Let your mower idle and engage the mower deck
Start up your lawnmower and let it idle as you would before starting a job.
Once the mower has had time to warm up, you can push up the speed of the blades and test the belt.
If there are any strange noises, stop the mower immediately to avoid damage or injuries.
Inspect the mower belt and adjust if necessary
If you have followed the steps above and replaced the belt correctly, this shouldn’t be necessary, but it is always best to check.
You should turn off the lawnmower, disconnect the spark plug wires again, lower the deck, and look at the belt to ensure it is still secure. If it is not, fix it as is needed.
Reconnect the spark plug wires
If everything is secure and still in place after a quick test, it should be fine. You can now reconnect the cables, lift the deck and start using your riding lawnmower again.
If there are any issues with the belt after this point, or if you hear any noises that you cannot place or fix, it is best to consult the user manual or a mechanic.
Ensuring that your deck belt is working as intended and is secure is key to preventing any injuries or damage to your lawnmower.
Conclusion
Though replacing your riding lawn mower’s deck belt can be tricky, it is very satisfying to change something yourself, and everything is working as it should.
If you encounter any problems after changing your belt, don’t forget to consult your user guide, if possible, to ensure that you have put the belt back in the right place.
You can also ask for help if you are uncertain of what to do.
Check this post to fix lawn mower not starting without starter fluid.
![Why Does The Lawn Mower Leak Gas From The Air Filter? [Fix Easily in Seconds]](https://howtl.com/wp-content/uploads/2022/05/lawn-mower-leaking-768x432.webp)


![Which Way To Tilt A Lawn Mower? [Don’t Do This]](https://howtl.com/wp-content/uploads/2022/04/which-way-to-tilt-lawn-mower-768x432.webp)