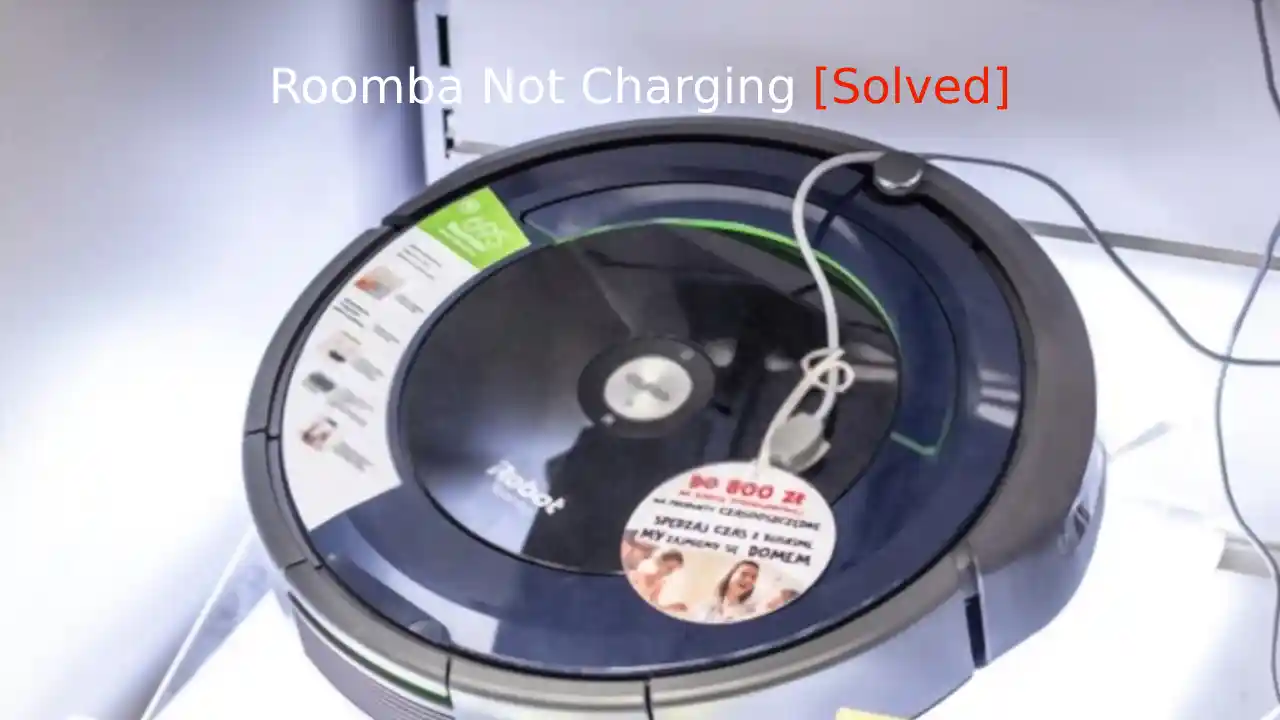
Wondering why is Roomba not charging? It usually has to do with a faulty power source, tarnished battery connections, or another mechanical problem. In some cases, you may have a bad battery, dock station, or Roomba itself.
This article discusses the main reasons your Roomba isn’t charging and what you can do about it. Let’s get started!
8 Ways to Fix Roomba Not Charging
Multiple users have reached out to me experiencing issues with Roomba not Charging and this can be due to dirt stuck at charging port or fault in batteries. Here’s a list of ways to solve this problem.
There’s Something Wrong with the Power Source
Several different mishaps fall under this category. First, you could have a power cord that’s got a short in it or is bad. You could also have a malfunctioning power outlet or surge protector.
However, the first thing you want to check is whether you’ve removed the yellow tab that prevents the battery from charging. You’ll usually see this on brand-new Roombas or ones you’ve never taken out of the box.
Once you’ve verified the yellow tab is gone, try charging your Roomba with a different power cord or outlet. If you have GFCI outlets in your home, it’s possible the one you were using has tripped.
Try using the reset button or checking the breaker in your garage. If the reset button on the outlet’s faceplate doesn’t work, your breaker box will show whether that section of your home’s electricity is shut off. You can reset and restore electricity from the breaker.
If you’re plugging in your Roomba to a surge protector, try charging it directly in an outlet. Also, see if other appliances plugged into the surge protector are working properly. Replace the surge protector or reduce its load to see if it makes a difference.
The Battery’s Connections are Dirty
Inside your Roomba’s battery compartment are electrical contact points the battery touches. If these points of contact get dirty, the battery can’t receive or transmit power.
To fix this problem, mix a solution of rubbing alcohol and water. Make sure you have a non-abrasive cloth or Q-tip to dip into the solution. Using a gentle motion, clean each electrical contact point inside the Roomba’s battery compartment.
You’ll also want to check the contact points on the battery. Go ahead and clean this, unless there is blatant evidence of erosion, rust, or leakage. In these cases, you’ll want to properly dispose of the battery and order a replacement.
If you’ve been able to successfully clean all the contact points, let them dry out for 20 to 30 minutes. Then place the battery back in and see if it will charge. Should you need a replacement, check your warranty to see if it’s covered.
No need to spend more money than you have to!
The Software Needs Reset
Sometimes the software that runs and charges up your Roomba gets confused. Bugs and glitches can interrupt the commands your Roomba needs to charge. Resetting the device and internal software programming can help.
To do this, you’ll hold down the clean and dock buttons on your Roomba until you hear a beeping noise. Once you hear the noise, let up on the buttons and plug the device back in.
Newer versions of the Roomba have a reset button instead. You’ll press this button down for 10 seconds and then release it to do a software reset.
The Charging or Docking Station Needs Cleaning
There are also electrical contact points on your Roomba’s docking or charging station. If these get a build-up of dirt and debris, it can prevent your Roomba from charging.
To fix the issue, you’ll want to follow the same steps you did for the battery compartment. If this does not work, it’s possible you have a faulty dock station. Check your warranty first and reach out to Roomba’s customer service if needed.
If the dock station is no longer under warranty, you may be able to purchase another one from Roomba, an online retailer, or a private seller.
Your Battery is Loose
At times, the battery on your Roomba can become loose or displaced. Shifts that occur during moving, storage, shipping, and use can cause it to lose contact.
To correct this, simply remove the battery and then place it back in the proper position. Make sure it’s lined up evenly and touching the electrical contact points. Also, check to see if it’s remaining in place.
The Battery is at the End of its Lifecycle
While Roomba batteries should hold a charge and recharge for a long time, they don’t last forever. Logic says that the more you use your Roomba, the shorter your battery’s lifecycle will be. Eventually, your battery will wear out and no longer hold a charge.
If you’ve tried several of the other steps in this guide to no avail, consider the possibility that you need a battery replacement.
As in other scenarios, check your warranty to make sure it’s not still covered. While rare, some batteries fail before they’re supposed to.
Perform a Factory Reset
This step is one of your last resorts, as it will erase all programming, settings, and schedules. But if a soft reset of the software and other tips don’t do the trick, a factory reset is worth a try.
Simply hold the clean button down on your Roomba for 10 seconds. After 10 seconds, you should see the lights on your Roomba flash. This is when it’s time to let go and try charging your battery again.
If this step is successful, you’ll need to reprogram and reenter all your settings so your Roomba will know how and when to clean.
Contact the Customer Support
If all else truly does fail, reach out to Roomba’s customer service department. They may have additional steps and things you can do to get your battery charging again. At the very least, they can process a warranty or non-warranty replacement.
Final Thoughts
While it can be frustrating to figure out why Roomba is not charging, there are several ways to fix it. Start with obvious and simple potential sources of the problem, such as power sources and electrical contact points. Then proceed to more complicated sources like onboard software.
