When it comes down to plumbing fittings, SharkBite push fittings remain an ever-popular choice by homeowners. However, when you notice a leak that has developed by your fitting, you might be scratching your head trying to figure out why.
Generally, the possible reasons for a leaking SharkBite fitting come down to an issue with the pipe or the fitting. A fitting that isn’t connected properly has been used outdoors, has been reused too often, or has a damaged component that can result in a leak. Certain pipes are also incompatible with these fittings.
In this article, we’re going to help you troubleshoot your leaking SharkBite fitting. To do this, we’re going to break down the top ten causes for a leaking fitting. For each cause, we’ll also break down the relevant fix. Let’s take a look!
Causes and Fixes for Leaking SharkBite Fittings
When you’re troubleshooting a leaking SharkBite fitting, you’ll want to consider all the possibilities. This will allow you to find the cause of the issue and address it properly to stop your leak. Keep reading as we look at the ten most common reasons your SharkBite fitting is leaking – and how to fix it.
#1: The SharkBite Fitting Isn’t Connected Properly
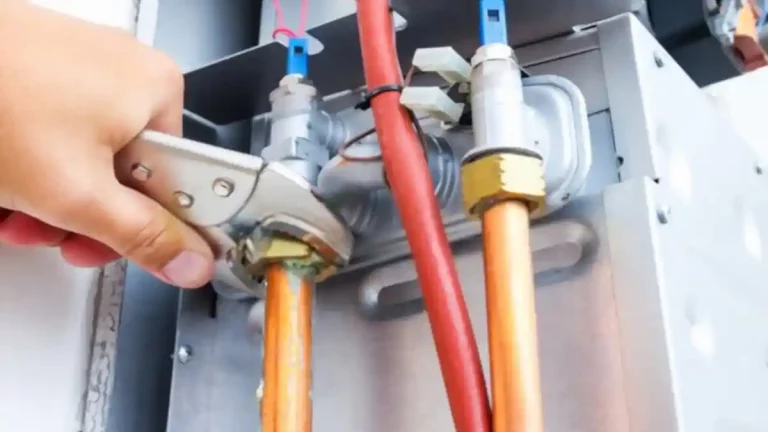
One of the most common reasons a SharkBite fitting is leaking is because it wasn’t installed correctly. For this reason, when you’ve noticed a SharkBite fitting that’s leaking, the first thing you’ll want to do is to check whether the pipe is connected to the push fitting correctly.
How to Fix It:
The easiest way to ensure that your SharkBite fitting is connected properly is to disconnect the fitting and reconnect it. To disconnect the fitting, you’ll need to use a disconnecting clip, which can be purchased online or at your local hardware store. If this doesn’t resolve the issue, it could be due to another reason!
#2: The SharkBite Fitting’s O-Ring is Damaged
Another possible reason for a leaking SharkBite fitting is a damaged O-ring. Your pipe is aligned with the fitting’s O-ring protector, which is an important component of your SharkBite fitting. To find out if this is the reason, you’ll need to inspect your SharkBite fitting.
How to Fix It:
To inspect your fitting’s O-ring, you’ll need to disconnect the fitting using the tool discussed earlier. Once you’ve done this, you’ll be able to assess the O-ring. Luckily, SharkBite fittings come with a limited twenty-five-year warranty. A replacement fitting should solve your leak!
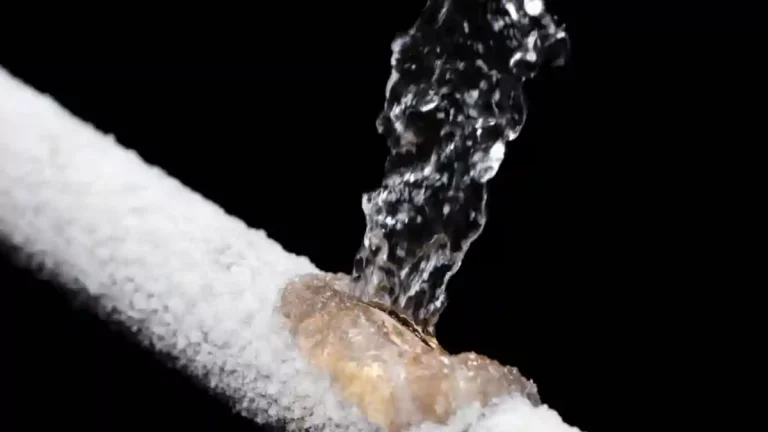
#3: You’re Using SharkBite Fittings Outdoors
Using SharkBite fittings outdoors can result in the formation of leaks. This is due to the exposure of the rubber O-ring, discussed above, to the harsh UV rays of the sun. In turn, this can dry out the O-ring, causing it to crack or split, eventually resulting in a leak.
How to Fix It:
If the leaking SharkBite fitting you’re troubleshooting is located outside, you’ve likely found the reason your SharkBite fitting is leaking. You’ll need to use an alternative fitting that is rated to withstand continuous exposure to the sun.
#4: You’re Reusing SharkBite Fittings
While SharkBite push fittings are highly convenient, you should avoid reusing them too often. Ultimately, this comes down to the rubber O-ring again. The rubber has a lubricant applied to it, allowing it to function properly. Over time, however, this lubricant erodes. Reusing these fittings can result in leaks developing.
How to Fix It:
The fix to this issue is clear: try to avoid reusing SharkBite fittings. As a golden rule, you can use it up to 3 times. However, if you notice that reused fitting leaking, it’s a sign that it’s time to purchase a new SharkBite fitting for your pipe.
#5: You’re Using the Wrong Fitting for Your Pipes
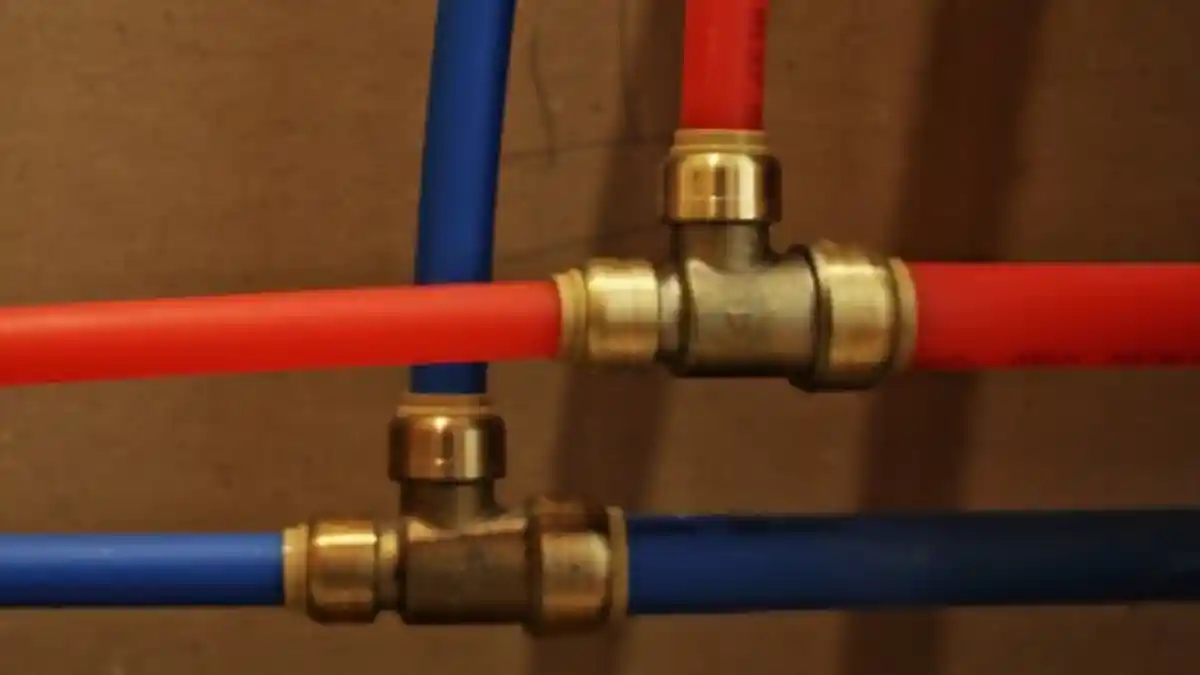
SharkBite fittings are designed to be used with certain types of pipes. Using these nifty fittings with the wrong type of pipe can result in fitting that leaks. PEX, Copper, CPVC, PE-RT, and HDPE pipes are compatible with SharkBite fittings. For example, PEX-AL-PEX pipes cannot be used with SharkBite fittings.
How to Fix It:
To verify that this is the reason for your leak, you’ll need to verify the type of pipe you’re using. You’ll then want to ensure that it is, in fact, compatible with the SharkBite fitting. If it is not compatible, you’ll need to use an appropriate fitting for your relevant pipes.
#6: Your Pipes are Deformed
Sometimes the leak isn’t the result of a faulty SharkBite fitting but rather due to a deformed pipe. Pipes often deal with extreme temperatures and will, over time, become warped. This could simply be due to the age of your pipes. However, a compromised pipe can result in a leaking push fitting.
How to Fix It:
To address this issue, you’ll need to replace the section of the damaged pipe. Once you’ve connected the replacement pipe to the SharkBite fitting, your leak will be a problem of the past!
#7: Your Pipes Are Painted
Painting your pipes can also result in a bad seal between your SharkBite fitting and the pipe. When the dried paint on your pipes presses against the SharkBite fitting’s cufflink, the seal’s strength can be compromised. In turn, this can result in a leak.
How to Fix It:
If you find that the pipe where the SharkBite fitting is leaking is indeed painted, it could be the cause of your leak. To fix this, you’ll need to turn off your home’s water and disconnect the pipe. With sandpaper or a paint stripping product, you can remove the paint near the end of the pipe where the fitting will be located. Once the paint has been removed, you can reconnect the fitting.
#8: You’ve Sanded Copper Pipes
Sanding copper is an easy way to smooth it out. However, when it comes down to copper pipes with SharkBite fittings, you should avoid sanding your pipes. That’s because the process of sanding creates an uneven surface. In turn, this compromises the effectiveness of your push fitting and could result in a leak.
How to Fix It:
If you’ve sanded your copper pipes, you might need to replace parts of your pipe. Doing this will repair the leaking SharkBite fitting. In the future, you should only use very fine sanding paper with your copper pipes. You should also take care to sand slowly in a circular motion.
#9: You Used a Hacksaw or Bandsaw to Cut Your Pipes
This reason once again comes down to the quality of your pipes. If you used a hacksaw or bandsaw to cut your pipes, this could be the reason for your leaking fitting. You need to use an appropriate tool to make a gradual and smooth cut.
How to Fix It:
If you’re using copper pipes, you’ll want to use a copper pipe cutter to cut your pipes. For PEX pipes, you’ll want to use a PEX cutter. For CPVC, you’ll need to use a fine-toothed saw or wheel cutter. You want to ensure you cut your pipes properly to avoid a leaking SharkBite fitting.
#10: You Used Sealants, Lubricants, Tapes, or Glue
Using sealants, lubricants, tapes, or glue on your pipes to seal it can actually result in a push fitting that leaks. As discussed earlier, the O-ring within the SharkBite fitting already contains a lubricant. Using these products can result in an ill-fitting connection that can result in a leak.
How to Fix It:
You should avoid using the above-discussed products with your SharkBite fittings to avoid developing a leak in this way.
Conclusion
In this article, we explained the various reasons a SharkBite fitting could begin leaking. Typically, these issues are either due to an issue with the pipe or with the fitting itself. With our handy fixes to these issues, you’ll have a leak-free SharkBite fitting in no time!
Sources:
https://www.sharkbite.com/products/disconnect-clip
https://www.sharkbite.com/resources/blog/see-whats-inside-sharkbite-push-connect-fitting
https://diy.stackexchange.com/questions/128561/sharkbite-fitting-connection-is-leaking-around-painted-pipe/128562