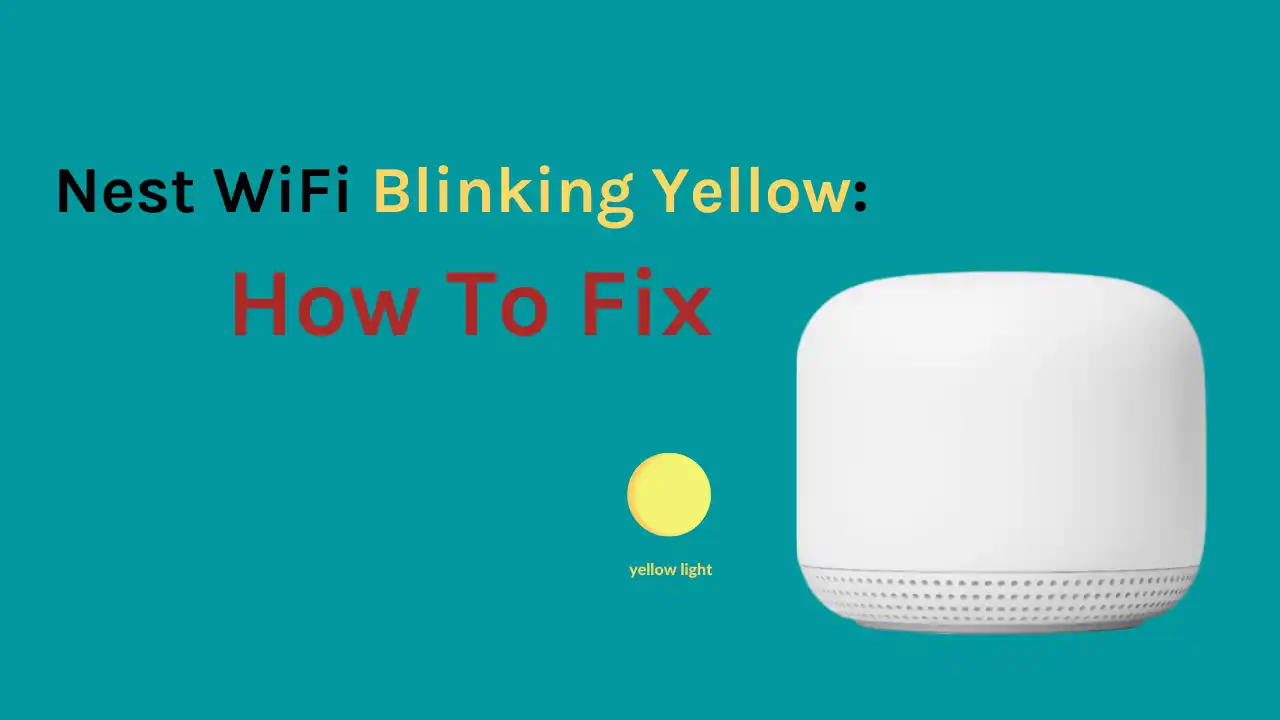
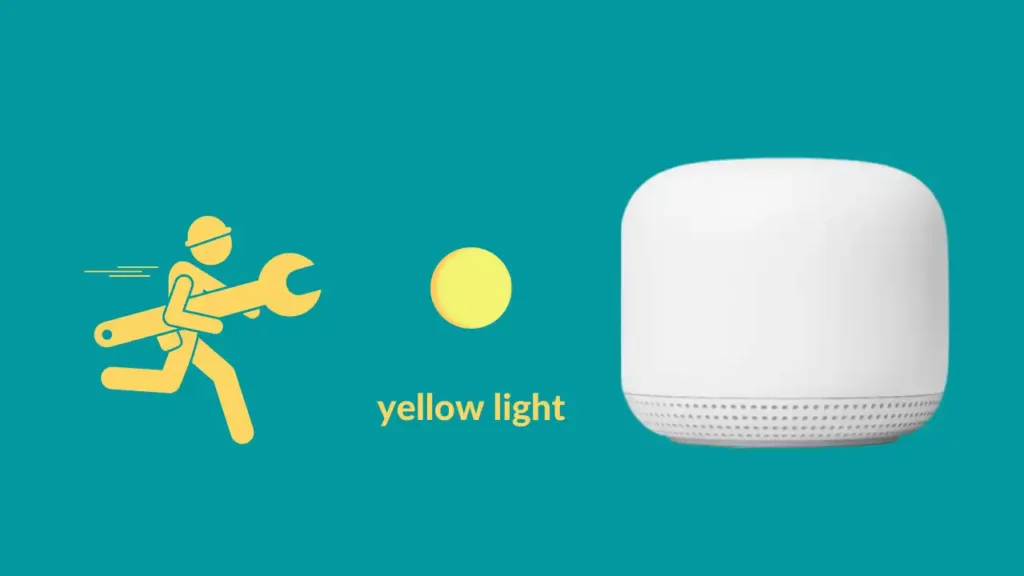
If your Nest Wi-Fi is displaying a blinking yellow light, it can be a sign that something is wrong. However, there are some easy troubleshooting steps you can take to get the device back up and running again.
In short, If a solid yellow light appears during setup, it is an indication of a network error. To fix this issue, ensure that the Ethernet cable is connected to both your router and modem and check if they are working properly – you might need to unplug each device before plugging them back in for better results.
In this guide, we’ll cover how to fix Nest Wi-Fi blinking yellow and discuss the various causes that may be contributing to the issue. With a few simple tips, you can get your Nest Wi-Fi back up and running in no time.
What does the Yellow Light on Nest Wi-Fi Mean?
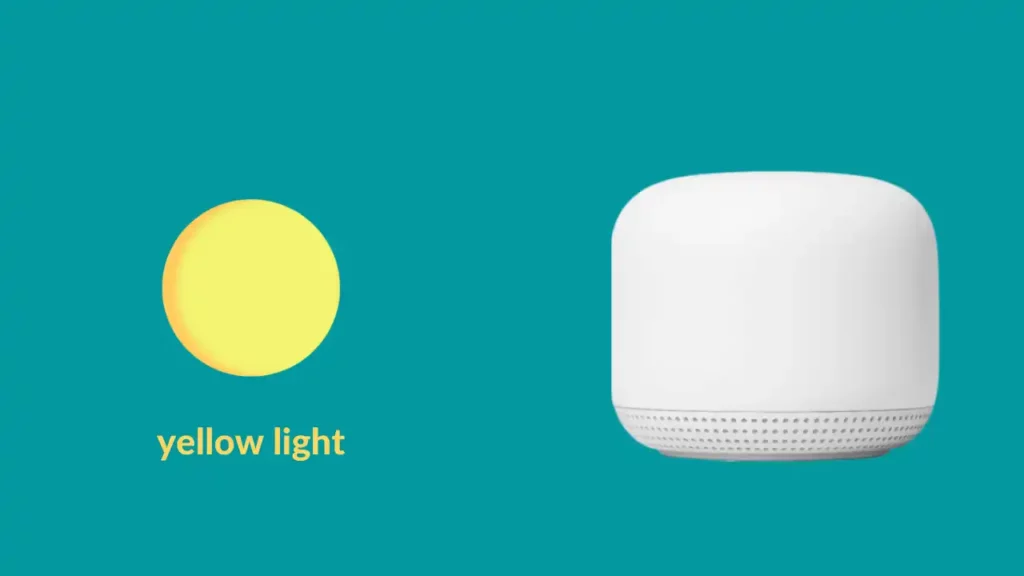
Different colored lights signify different events on Nest Wi-Fi. These colored lights also have different patterns of appearance, which all hold different meanings. For instance, your device reboots if the light is a continuous and steady yellow.
Secondly, if you have programmed your google wifi device for the reset, and the gadget is resetting, there will be a fast blinking yellow light. The same yellow light, if it is pulsating, is an indication that there is a problem with the Nest Wi-Fi that has to be fixed.
A slowly fading or what you can call pulsating yellow light signifies that the router is unable to establish a connection, which prevents it from giving you a reliable network.
Why is My Nest Wi-Fi Blinking Yellow?
If you see pulsing yellow light on your Google Nest WIFI, your Nest WIFI’s internet connection has been lost. You can resolve this issue in two ways. Restarting your modem is the first thing you should do if you are keen on fixing the constant flickering. Restarting your router is the second option you will have to resort to if the first doesn’t work.
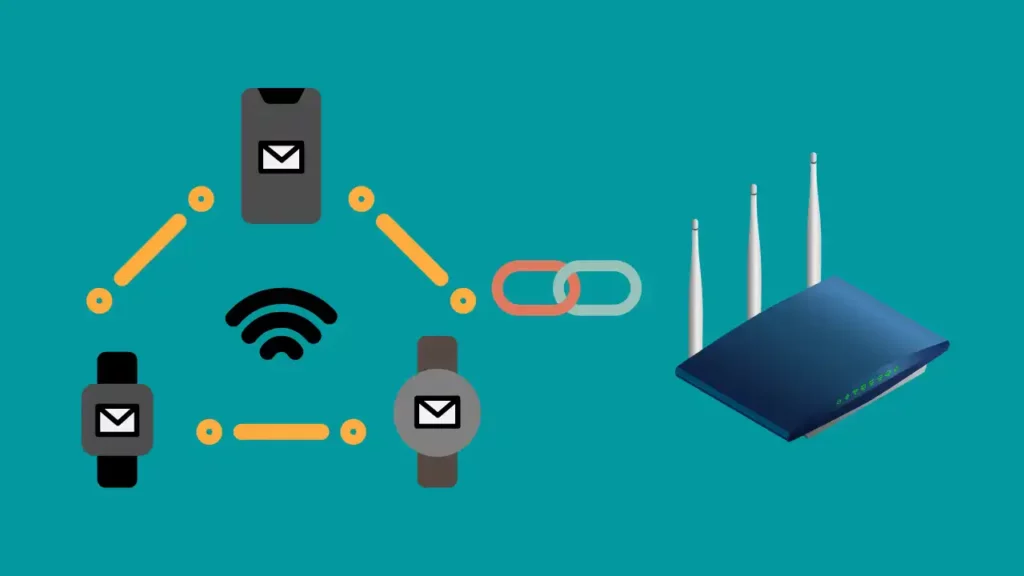
If your house has a Nest Wi-Fi router, you must have noticed three yellow lights blinking.
When you start the factory reset on your Nest Wi-Fi router, the two yellow lights will appear on it; first solid yellow and then a brief flashing yellow to show it has completed.
If you don’t know how to reset Nest Wi-Fi, you may start resetting your Nest Wi-Fi router by depressing and holding the reset button for a short time, approximately 10 seconds.
In another case, if this rapidly blinking light is solid yellow, your router is likely restarting or resetting. However, if the yellow light on your Nest Wi-Fi router is blinking or pulsating, there may be a problem with the network connection that you need to fix.
How To Fix Nest Wi-Fi Flashing (Blinking) Yellow Light?
Ensure the Connection Between Modem and Router is Perfect
A weak connection between the modem and router can also be the root of a blinking yellow light on the Nest Wi-Fi. So, while embarking on troubleshooting the blinking yellow light, make sure first to inspect the cables and connectors for damage and repair any that are damaged. Ensure that every connection is flawless and remains in place.
Verify that the little clip on the ethernet connections is not damaged or dislodged. They hold the cable in place, so if you need to replace it with a high-quality Cat6 or Cat8 cable, such as the Orbram Cat8 ethernet cable, I recommend doing so.
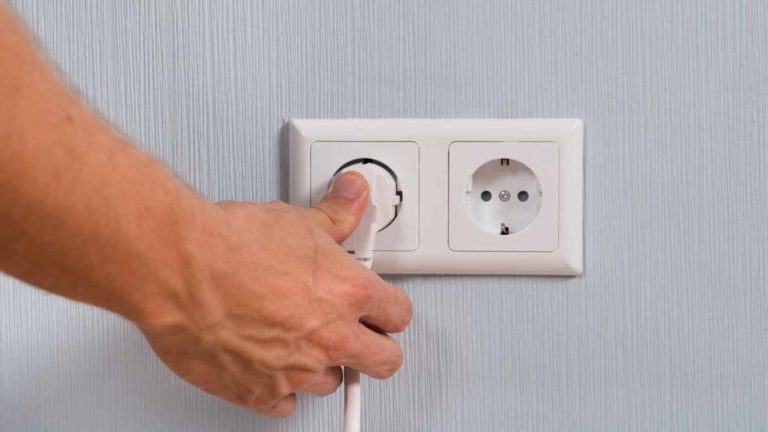
Restart Modem and Router
Sometimes, a simple restart can solve great problems. This trick works with most other electronic gadgets as well. Restarting the modem and router here will resolve any issues that might impede the network connection between your Nest router and modem.
Use these steps to restart your Nest modem and Wi-Fi:
- Cut the power supply to both the modem and router.
- Then, wait for the indicator lights to go off, not only on the router and modem but on every other gadget using mesh internet connectivity.
- Open the power supply to the modem.
- Keep waiting until the modem’s lights start to turn on again.
- Ensure that every Ethernet connection is completely secure.
- Allow the Nest Wi-Fi router to turn on after reconnecting the power.
- Reconnect any other devices, routers, and Wi-Fi points to power if you have disconnected their supply.
- Then, close the Google home app and launch it next.
- Do a mesh test to see if everything is back in working order.
Check Nest Wi-Fi Configuration
Normally, a configuration check is unnecessary because the Nest Wi-Fi by default utilises DHCP, a popular protocol.
However, if your ISP employs a different technology, such as PPPoE or static IPs, you might need to double-check the setup.
You must first take your Nest Wi-Fi offline in order to modify WAN settings. To accomplish this, unplug the modem’s cable from the Nest Wi-Fi, then proceed as follows:
- Launch the Google Home app.
- Navigate to WiFi > Settings > Advanced Networking.
- Select WAN.
- Based on your network type, choose PPPoE, DHCP, or Static.
- You would need to input the IP address, subnet mask, and internet gateway supplied by your ISP for the Static IP option.
- Use the login information and password that your ISP has supplied for PPPoE connections.
Move Nest Wi-Fi Closer to Modem
There is a likelihood that anything between the router and Nest Wi-Fi is interfering and that’s why you are seeing the blinking yellow light on Nest Wi-Fi.
The explanation for this is that the Nest Wi-Fi connects to the internet by connecting to the modem. So, if there is a problem connecting to the modem, Nest Wi-Fi will not have a reliable internet connection and it will display that by flashing a blinking yellow light.
In such a situation, the Nest Wi-Fi needs to be moved closer to the modem. Additionally, install the modem and router in regions that are not clustered with objects such as furniture and decor to avoid interference from metal items or walls.
Disconnect Too Many Devices Connected
The Nest Wi-Fi may get overloaded if too many devices are connected, which might result in Nest Wi-Fi losing its internet connectivity.
Always remember to link the Wi-Fi network with one device at a time; otherwise, the strength may become insufficient for other devices to work.
By hit and trial, try to recognize the Nest Wi-Fi’s concurrent connection restriction for devices to maintain an internet connection, then try to go past it if the Nest allows.
Reset Your Router
Resetting helps by clearing all your earlier settings and customizations. Understandably, many of you would not want that; that’s why it is only a final resort when you have failed at every other method. When you factory reset your google wifi devices, it is restored to its original settings, which means you will have to log in and set it up again, so keep all those details handy for later.
Below given are the steps to reset your Nest Wi-Fi router:
- Start by finding a little reset button on your router by turning it upside down. Remember that it’s difficult to see this button; to avoid missing it, pay great attention.
- For at least 10 seconds, press and hold this reset button. Before turning it on as a solid yellow color, the router’s indicator light will flash.
- Proceed and let go of the reset button when the router indicator light is solid yellow. The reset procedure will start as a result.
- Yellow indicator lights will also appear on all other devices linked to your Google Wi-Fi network to indicate a complete factory resetting. Ensure you do not disconnect any of your Google Wi-Fi gadgets while resetting.
- The Google Nest Wi-Fi points will be the first to restart and will sound an alert when the reset is finished.
- This shows that your Wi-Fi is now prepared for configuration and that the factory reset has been completed.
- Remember that if you hold the reset button for the router for 15 seconds or more, the router won’t reset, and the indicator light will keep flashing yellow
Final Thoughts
The blinking yellow light on the Nest Wi-Fi indicates that internet connectivity has been lost. Any gadgets using Google Wi-Fi’s mesh connectivity will go offline in such a situation. You should quickly troubleshoot such an issue. We have tried to detail every method here in this article. We hope this list will be helpful for you!
Nevertheless, if you still need help fixing the issue, it’s a good idea to dial Google Customer care. Support people will further help you clarify any doubts and queries you have. They will even guide you about the steps you should take next to fix the blinking yellow light.