If the heat pump systems connected to your Nest Thermostat stops functioning, emergency heat acts as the secondary heating option. Many individuals have an “emergency heat” setting on their nest thermostats, but many are unsure what it truly means or how to utilize it.
As a user, you must only employ the emergency heating feature if your principal heating source is out of work and you need a backup plan to keep your house warm until you can temporarily repair it.
Relative to your heat pumps, emergency heat is incredibly inefficient and will thus be far more expensive to use. Still, if your primary heating system breaks down on a chilly winter night, you have only this option, and thankfully it can come to your rescue.
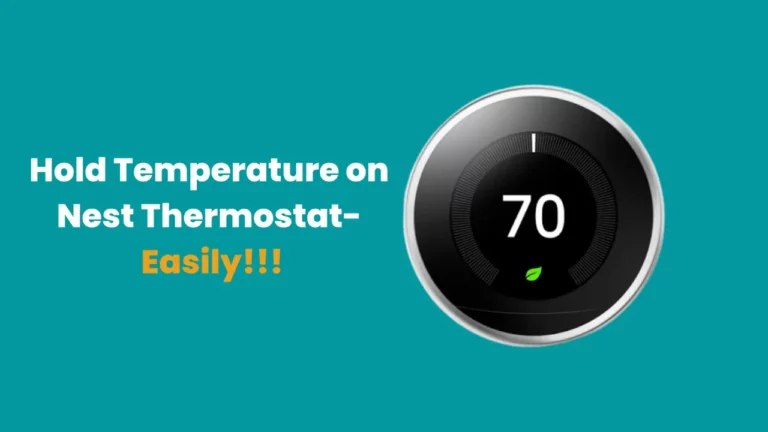
I am writing this article to let you learn more about this feature and find out if your Nest thermostat has this or not, how to activate it and how to turn this off.
How To Tell If Your System Has Emergency Heat?
You may check if your thermostat has emergency heat in a few different ways. If you can spot these particular labels and buttons, then surely your system has emergency heat. (1)
- If your present thermostat features an “Emergency” button or switch, that is to signify that it has emergency heat.
- Secondly, if there is a connector with a wire with the letter E on your present thermostat, that also indicates that your system has emergency heat.
- Alternatively, you can look in the owner’s manual, where the manufacturer should mention if your model of the thermostat has emergency heat.
Lastly, you can speak to a local expert to find out if your system has emergency heat. They’ll be able to determine whether your system has emergency heat and install and properly configure your Google Nest thermostat too.
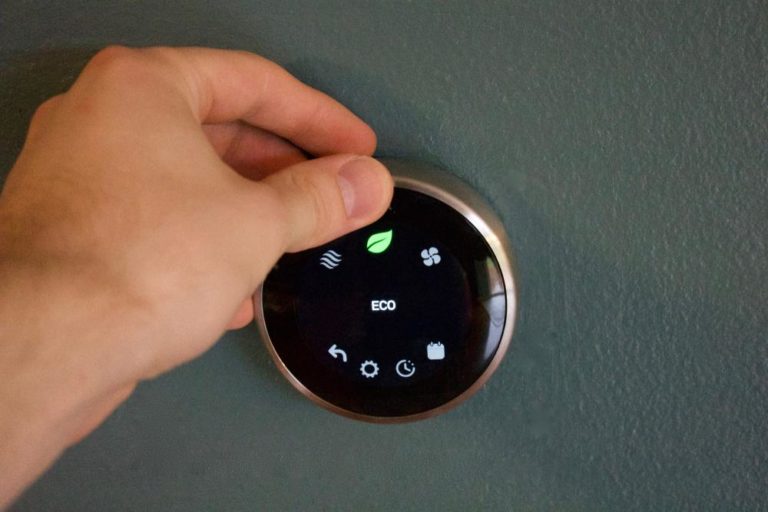
How To Activate Emergency Heat in Nest Thermostats?
Activate Emergency heat in Nest Thermostat Using Home App
- Open the Google Home App on your smartphone or tablet.
- Place your finger on the tile of your device and hold it there.
- To enable Emergency Heat mode, head to Settings at the top-right corner of your screen, select Thermostat, and then toggle on Emergency Heat.
- Tap the switch to activate or deactivate.
Activate Emergency heat in Nest Thermostat Using Thermostat Itself
- To access Emergency Heat, navigate your way to Settings.
- To activate, select Continue and then choose Yes.
- If Emergency Heat has already been activated, you can choose to either shut it off or leave it on.
Activate Emergency Heat in Nest Learning Thermostat and Thermostat E
- Open the Quick View Menu.
- The Quick View menu will appear when you press the thermostat ring.
- Navigate to the Equipment tab under Settings Nest settings.
- When the wiring diagram shows, choose Continue.
- Choose Continue once more.
- Select Emergency Heat.
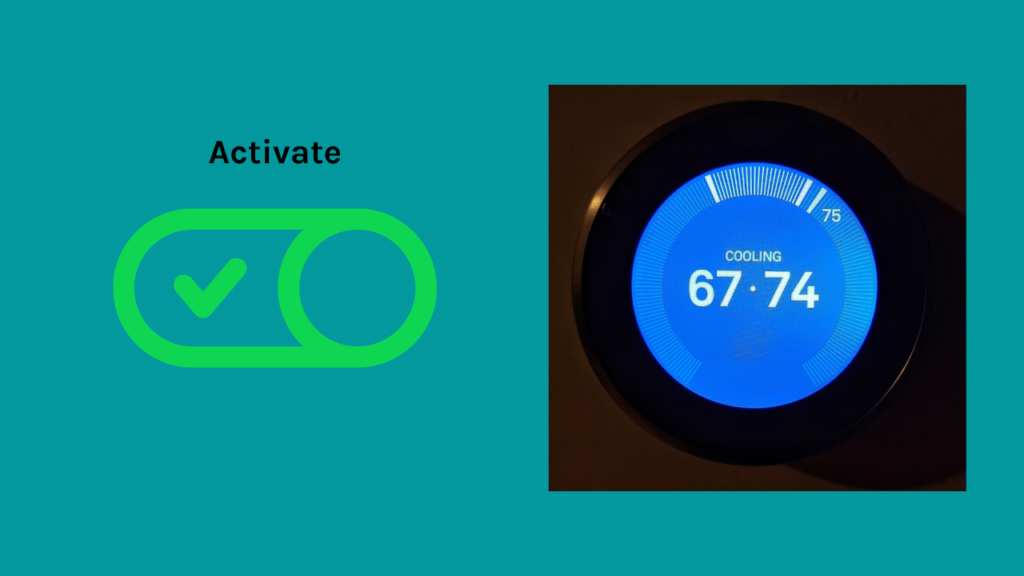
- Select the “Turn On” or “Emer. Heat” option on your Nest Learning Thermostat/Nest Thermostat E to ensure that you want to activate emergency heat mode.
Whenever necessary, your Nest thermostat will activate Emergency Heat to reach your set temperature.
To turn it off again, you need to do it manually.
How To Turn Emergency Heat off in Nest Thermostat?
Using your Nest thermostat, you may manually turn on or off the emergency heating function of your heat pump. However, you can view this option if your system has backup heating. (2)
Depending on your thermostat type, instructions to switch off emergency heat may vary.
Here are the steps to turn off emergency heat for various Nest Thermostat models:
For Nest Thermostat, Using the home app
- Open Google Home App on your smartphone.
- Tap and hold the tile containing the thermostat’s name.
- From the menu on the upper right, select Settings, then Thermostat, and then Emergency Heat.
- Tap the switch to activate or deactivate the emergency heat as you wish.
For Nest Thermostat, Using the Nest Thermostat Itself
- Navigate to the Nest Settings icon, choose Emergency Heat and then click OK.
- Next, select continue and then choose to Turn off; you can also turn on the emergency heat using the same feature.
For Nest Learning Thermostat and Thermostat E
- Open the Quick View menu by depressing the thermostat ring.
- Tap on the Thermostat Off icon when you reach the menu.
- Now Select Turn Off.
- Upon turning off the emergency heating, the heating will return to normal on your Nest thermostat.
Here’s How You Can Troubleshoot Emergency Heat?
Based on the model of the Nest thermostat you own, the steps to troubleshoot emergency heat are varied.
Here are the steps to fix emergency heat for each Nest Thermostat model. (3)
For Nest Thermostat:
- Inspect the Star connector/OB connector on your thermostat by removing the display to see whether a wire is there.
- Launch the Google Home App.
- Tap your device’s tile on your smartphone and hold it for a few seconds.
- Tap Settings, followed by Thermostat, in the top right corner.
- Equipment should have a section for Emergency Heat. If so, it will either read Off or On. Additionally, under “System information,” there needs to be a listing for Emergency heat type and Emergency heat source.
- Tap on wiring if the Emergency Heat option is not shown. There should be a Heat pump indication next to the Star connector/OB connector. If it doesn’t, you probably don’t have a heat pump, your thermostat is connected improperly, or the wiring wasn’t set up correctly when you first installed it.
For Nest Learning Thermostat:
- Go for a schematic image of the cables connected to your thermostat; choose the Nest Settings icon and then Equipment.
- Verify that Emergency Heat is selected in the thermostat’s Equipment menu if a wire is in the Star connector.
- If you find no wires in the Star connector or O/B connector, your thermostat is either not connected properly, or your heat pump system isn’t operational. The emergency heat requires both of these cables.
- Remove your thermostat display if the O/B and Star connectors have wires in them. Ensure that the wires are properly placed into the connectors, that the connector lever is depressed, and that the wires are free of corrosion.
- Ask a local expert for advice if the Star connection is not set to Emergency Heat and you are unsure if you need Emergency Heat.
If you are certain your system has emergency heat, take an extra moment to verify that the Star connector is properly set.
- Select Settings from the main menu.
- Select “Equipment”, and When the wiring diagram appears, click “Continue.”
- After you find the summary of your system, select “Continue” once more.
- Select the Wire Type, and select Emergency (E).
- Check the Equipment menu for our new Emergency Heat option, allowing you to stay warm during those unexpected cold snaps!
For Nest Thermostat E:
- If you find that the wires in either the O/B connector or W1 connector have gone missing, double-check to ensure they haven’t become disconnected. You need both wires for Emergency Heat.
- If you find a wire in the W1 connector, double-check that it is labeled “AUX heat”.
- When you see ‘Alt heat’ (not to be confused with AUX Heat) appear on your Nest Thermostat E, it is correctly configured for a dual-fuel system. You won’t need to manually adjust this option, as Emergency Heat will automatically kick in when required.
- Confirm that the wire in your outdoor unit (O/B) connector is labeled ‘Heat Pump’ if present.
How Much Does Emergency Heat Cost?
Emergency heating often costs twice as much as standard heat pump charges.
Consequently, leaving the emergency heat on for the same time might result in a bill increase of almost $126.68 for a property owner who now pays $63.34 monthly for natural gas heating.
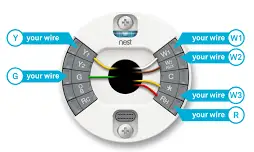
Where does the emergency heat wire go on the Nest thermostat?
Nest thermostats with an emergency heat feature have an E terminal, which toggles emergency heat on or off. You should connect this E wire to the W terminal. Emergency heat should be utilized only when the heat pump cannot keep the house comfortable on really cold days.(4)
For example, the star connector is perfect for connecting a wire that regulates a humidifier or dehumidifier and can even come in handy during emergency heat.
- Before setting up, the app will outline an individual wiring diagram to install your Nest thermostat. You must only insert a wire into the star connector if it’s clearly stated in the provided instructions.
- If the app directs you to insert a wire into the star connector during installation, your thermostat will request information on which wire is being utilized and what it controls.
- With any Nest thermostat model, you can only attach one wire to the star connector at once, thus preventing multiple functions from being active simultaneously.
Is Auxiliary Heat the Same as Emergency Heat?
Auxiliary and Emergency Heat both are different. Auxiliary heat is a supplemental heating system that is used when temperatures drop below a certain level. It typically kicks in when your primary HVAC system cannot keep up with demand.
Emergency heat, on the other hand, operates independent of your primary system and provides heating no matter what the temperature is outside.
In some cases, emergency heat can be used as an emergency backup if your primary system fails.
Final Thoughts
When an emergency heat setting is activated on a thermostat, the heating system employs a separate backup warming unit to assist in bringing a room’s temperature to a tolerable level. Excessive use of the emergency heat might lead to high utility costs. Check whether this option is available to turn on the emergency heating on a Nest thermostat.