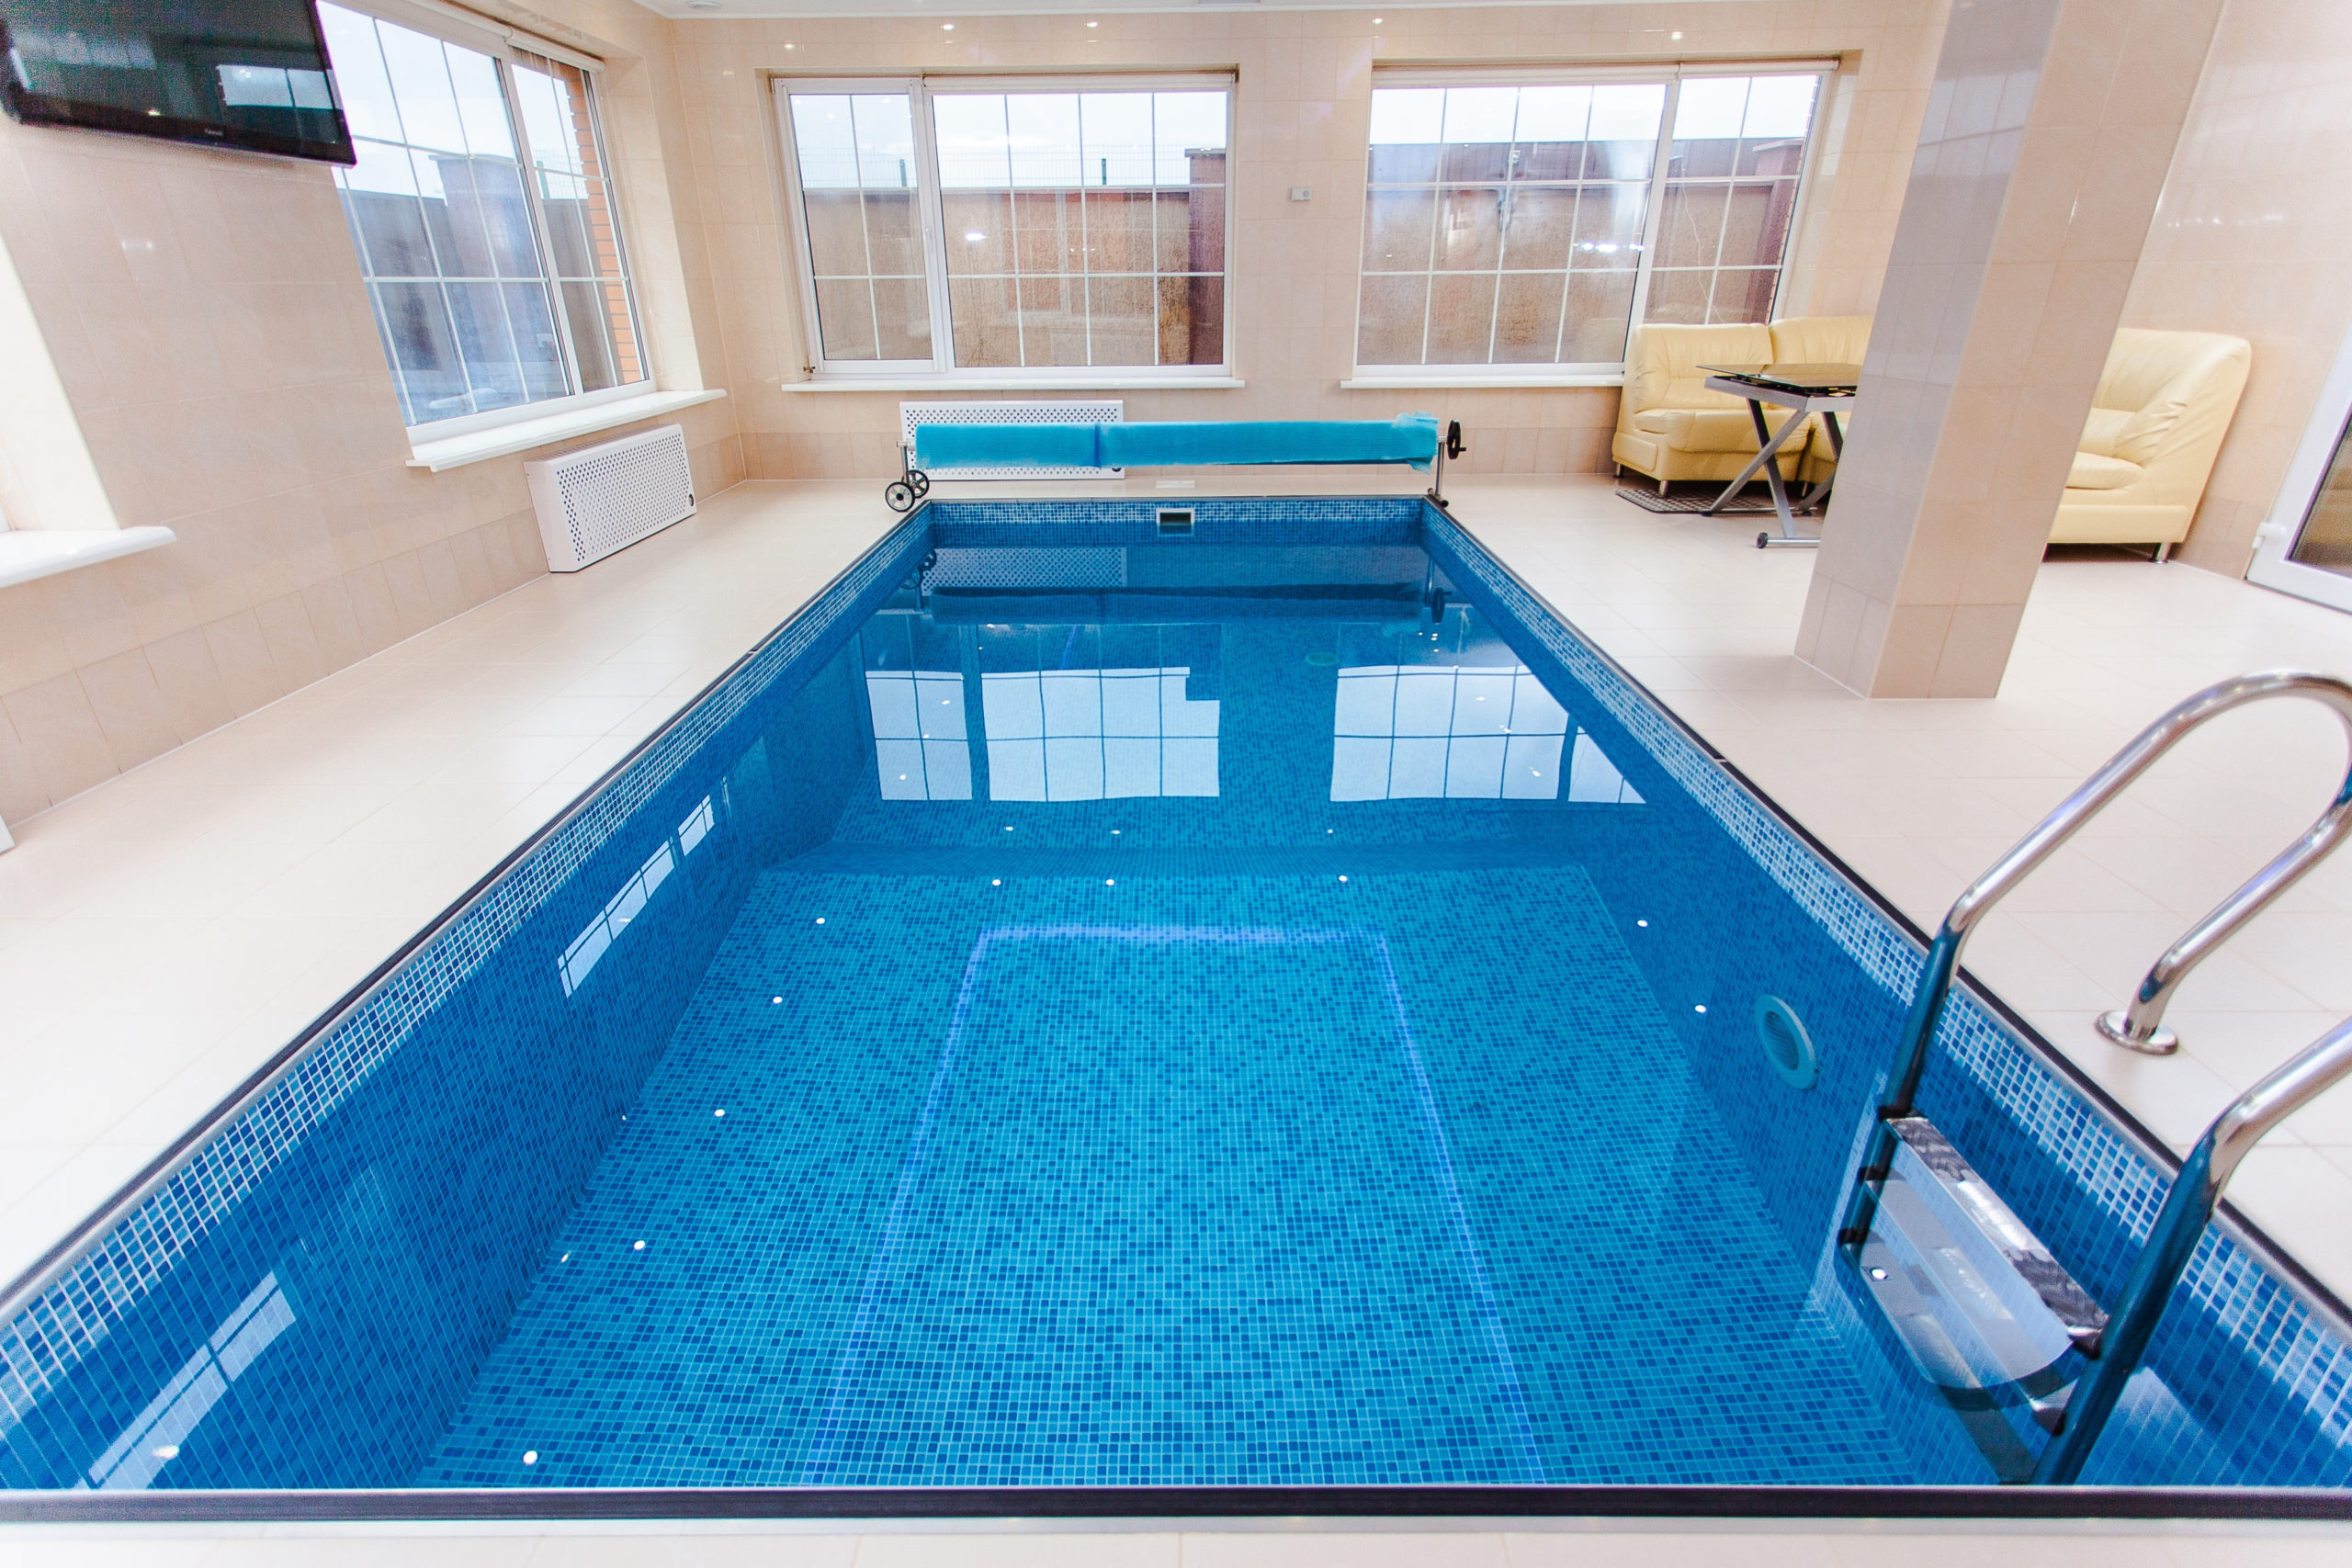
For pool owners or aspiring pool owners, a fiberglass pool is one of the best and most popular types of pool design used.
Well, fiberglass is a shell constructed from a mold in a factory, usually about 3/8 inches thick. Then, a fiberglass poll is a one-piece pool structure that is entirely made using fiberglass materials.
Apart from the fiberglass pool, another typical pool design is; the concrete Pool, Gunite pools, and the vinyl liner pool.
What makes fiberglass pool so popular?
1. Easy to clean and maintain
Taking into account all the construction materials used in pool building, pool surfaces made with fiberglass material requires the cheapest and least maintenance amount. This means less money used in buying chemicals, and also less time is taken when cleaning.
2. Algae-free material
This means that due to the fiber glass’s nonporous, smooth surface, algae won’t stick. The surface of fiberglass is not an ideal ground for algae to breed. Due to this factor, less time cleaning your Pool.
3. Durable
Fiberglass is resistant to wear and tear. Neither are they affected by elements like harsh weather and sun. This is very advantageous as fewer repairs are needed.
4. Quick and easy installation
The fiberglass pool can be installed in 2-3 days. Since the fiberglass shell is built in the factory, installation is done immediately after delivery.
This fiberglass shell comes with various options for installation. Installation can be done on the ground, above the ground in indoors areas and also outdoors.
Downside of Fiberglass
Since the fiberglass shell is made in a factory, a slight error in measurement can be quite troublesome in installation.
The process for also customizing it to suit your preferred design is expensive and time-consuming.
Why the need to tile a fiberglass pool?
Most people have this debate on whether a fiberglass pool needs tiling. My answer is that both sides, the opposing and supporting, are collected. Fiberglass pools don’t necessarily need tiling, and at the same time, tiling of a fiberglass pool has its advantages.
The main reasons for tiling your fiberglass pool are in order to add some beauty elements, durability, and style to the entire pool structure that, in turn, will capture the attention of people.
Though the process of tiling a fiberglass pool may sound like rocket science, it is quite simple.
With minor changes, the installation process is the same, more or less, like that of a normal tile installation.
Advantages of tiling your fiberglass pool
1. Uniqueness
Tiling your fiberglass pools usually break the monotonous feeling of your Pool. Tiling helps your Pool to stand out from others.
2. Add beauty and style
Disregarding the pool design you prefer having, tiling your fiberglass pool will always create a beautiful view.
Types of tile in fiberglass pools
Before learning how to tile your fiberglass pool, it is essential to know more about pools and tile and their designs.
Over the Lip Tiling (Inlay)
The most important thing to remember while using Inlay or Over the Lip Tiling, is that your fiberglass pool has to have recesses. The tiles need to be cut in order to fit in the recess. Over the lip tiles have the below advantages:
- Easy to clean; Both the tile and the grout are easily cleaned by the use of a wet cloth or a sponge
- Very durable; the grout is usually guaranteed never to dislodge crack or stain.
- Easy maintenance; There is usually no need for waxing the fiberglass lip exposed.
As witnessed by bricks or with cantilever cement, your bathing suits will not snag the tiles.
In over the lip tiling, tiles selection and the colors usually are done carefully to ensure there is an attractive color combination for the perfect match of mud caps, waterline, and lip tile.
New customization of the tile so as fit tile recess is very expensive, especially when you had made something very custom like different animal shapes.
So, what are the best tiles to use in over the lip tiling type?
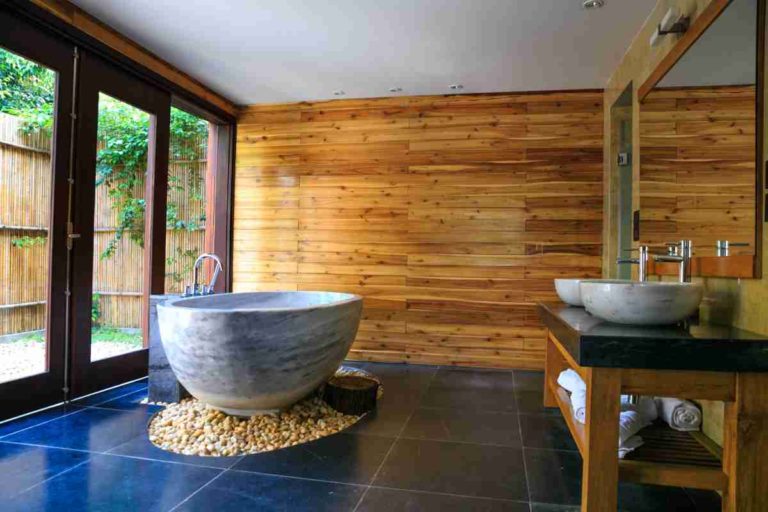
1. Stone Tiles
For those pool owners searching to get a Mediterranean or Classical style oasis, stone tiles are the tiles for you; having a textured feel and a natural look rhymes perfectly on a deck or patio.
When the stone tiles are combined using coping, the appearance normally looks similar.
Stone tile’s elements design includes bluestone, travertine, slate flagstone, semi-polished, sandstone, and granite tile that gives off a pepper tone view.
2. Ceramic and Porcelain Tile
Porcelain and Ceramic tiles for the longest time usually have been used for pool finishing. Unlike glass tiles, ceramic and porcelain tiles are usually painted with hands, giving them exciting designs.
In present days, you can commonly find porcelain and ceramic tile in a textured version that matches perfectly with your surrounding landscape.
3. Water Line Tiling
Waterline tiling is the process of putting one row or more of tiles around your pool top where the waterline is. You can also use this tiling tip to make the tiles match your entire Pool. Below are some advantages of waterline tiling:
- Tiles beautify and accentuate the fiberglass pools
- This type of tiling has a wide range of styles and colors options to choose from
- tile grout and Silicone are usually easy to clean
Tiles to use in waterline tiling type;
Custom Tiling throughout the Pool
This tiling type usually entails working on the whole surface of your fiberglass. This is mostly done so as to achieve luxury and ultimate durability.
Tiles to use in waterline tiling type;
Glass Tile
Today, glass tile popularity has risen rapidly. Though the glass tile is the most expensive tile option, they have a good reason. This is because they are usually the most nonporous and durable of all pool tiles. Glass tiles match perfectly with the transparent water nature, thus giving them a beautiful aesthetic view.
How to tile a fiberglass Pool?
What you need before the task
- Piece of cloth
- Acetone
- Silicon rubber grout
- Pool tile sheets (6 by 12 inch)
- Nylon scrubbing pad
- Dish soap sponge
- Epoxy rubber grout float
- Silicone tile adhesive
- A grouting helper
It is possible to add class and style to the fiberglass pool using tiles located at the bottom. Glass tiles adds a shimmering bottom for your Pool. Below are steps to follow while tiling your fiberglass pool,
Steps to Install glass tile
1. Fiberglass Pool Preparation
The first and most important thing to always know is never to install your tiles in water. First, you need to drain your swimming pool, then remove excess water. This can be accomplished by using a piece of cloth or a wet vacuum.
After removing all the water in your Pool, you need to sand the bottom part and then sweep it. Make sure you sweep or the sand and debris. After this, clean your Pool’s bottom using acetone. Wait for the pol to dry before you proceed.
2. Take the Tiles Measurements.
For this second step, it is crucial to know the number and size of tiles needed. Having this knowledge will help in easing up your tile’s installation work.
The glass tiles come in sheets connected by wire mesh. To have a rough estimate of the total number of tiles needed, you can begin by measuring your Pool.
In case the tiles are not even, you should come up with a way of making sure all tiles similar in size. For such cases, you need to cut the uneven tiles using the wet saw to make them look uniform.
3. Adhesive application
For this process, you will need to apply adhesive directly to your Pool’s floor before putting the tiles.
While using glass tiles, the process is a bit different. You will need to apply silicone tile in thin layers adhesive to each tile as you prepare for the following step.
Use a spatula as you apply the adhesive to your glass tile bottom side uniformly in a thin layer. As you do this, make sure to spread the glue evenly.
4. Tile Installation
To know which side and place to start, it is important to assess your Pool. For better installation, it is advisable to start from one side of the Pool. Simply, you need to place your first glass tiles set at the same time, making sure all the glass edges are against your pool wall.
Ensure the glass tile is placed perfectly horizontal and flat, then you need to carefully press on it so that the adhesive can stick to the bottom of the Pool. After placing the first tile correctly, you need to take the next tileset and place its edges against the first set.
Carefully lower your second set of glass tiles to the pool surface, before firmly pressing it down till it gets to be in the first set’s same level. Follow this same pattern until your whole Pool’s bottom is covered completely with the tiles.
5. Grouting
To ensure the adhesive is dry, it is important to give it time. This drying process may take almost one hour to dry. To be sure and more accurate, it is important to check instructions on the adhesive to ensure you give it adequate time to dry.
The next step will involve using a caulking gun to apply caulk in-between the tiles and to the edges of where your pool wall meets the tiles.
Spread the grout evenly using an epoxy rubber grout float. Use the piece of cloth while applying the grout to wipe away the excess grout out of the surface.
6. Final Touches
This process involves taking your nylon scrubber and by using a small amount of detergent, clean off the grout thoroughly, after that using freshwater, rinse off the soap. The excess water should be removed using your wet vacuum.
To clean your tile, you can use a mixture of water and vinegar. Let everything settle for two days before refilling your Pool.
Is it costly to tile my fiberglass pool?
Even though a tiled fiberglass pool looks expensive and classy, surprisingly, the whole process is straightforward that you can do it within your set budget and by yourself.
As long as you have the right materials, procedure, and tools, you should be able to upgrade your Pool
How long does the whole process take?
The whole process depends typically on your working speed. It takes an even shorter period if you have a team helping you. For an individual, it should approximately take less than a week.