Have you considered painting a concrete wall as a DIY project and were deterred by just how difficult it sounds? While it might not be a fast process, it’s definitely manageable with a lot of patience.
If you’re tired of your drab-looking concrete basement walls or would like for your cinder block garden walls to be the perfect backdrop for your flowers, you should definitely stick around for this guide on how to paint concrete walls.
Process Overview
Painting concrete isn’t as easy as slapping a coat of paint on the wall, but it’s not so complicated that you’ll need a contractor for the job.
After you remove all dust and debris, as well as patch up any holes or cracks in the wall, the rest is just a matter of prepping, sealing, priming, and then painting the wall with a suitable paint.
Here are the tools you’ll need for the process:
- Power washer
- Paint scraper
- Putty knife
- Concrete filler
- Sandpaper
- Trisodium Phosphate (optional)
- Sealer
- Primer
- Masonry Paint
- Heavy nap ¾” textured surface roller
- Safety goggles, gas mask, and thick gloves
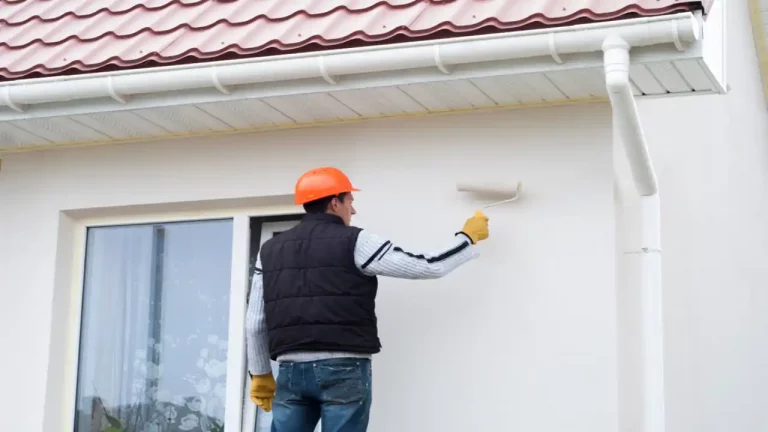
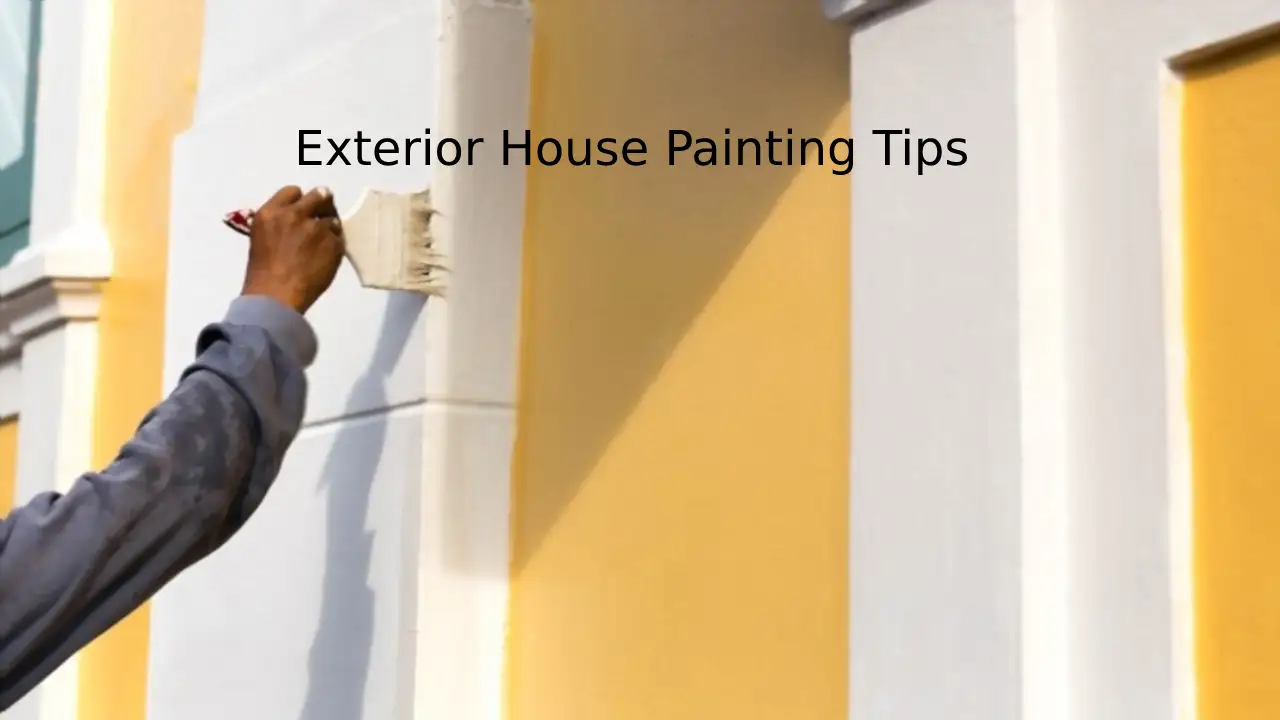
How to Paint Concrete Walls Outside?
Concrete isn’t used much for indoor walls except for basements. Where it’s mostly utilized is garden walls, garages, and occasionally the sides of buildings.
That said, concrete walls are often exposed to the elements more than other types of walls, so you should take a few steps to clean and insulate your wall before you start painting.
- First of all, use a power washer to remove any dust, cobwebs, or grass growing on your wall. This step is important as dust will prevent the paint from sticking. Be thorough and sweep the parts near the floor to remove any fallen debris.
- Let the wall air dry for a day. Then, check for cracks or holes, use a putty knife and concrete filler to patch them up, and then remove the excess. This should take about a couple of hours to dry. As concrete filler expands when it dries, sand it down to have a surface that’s flush with the surrounding wall.
- An optional step is to take a compound called trisodium phosphate (TSP), dilute it with water according to the manufacturer’s instructions, apply it to the wall and leave it for about 20 minutes.
- Afterward, take the power washer and completely wash away the TSP. This compound acts as an etcher, which roughens the surface of the concrete so it can take in more paint.
- After you leave the wall to dry completely, start applying the sealer. This step helps protect the wall against moisture damage and makes the paint last longer.
- Next comes the primer, which you apply in an even coat. Use white if you intend to use light-colored paint and grey primer for darker colored paint. If you can still see the wall after the first coat, paint another one on.
- Finally, apply your masonry paint in thin coats until you reach the desired shade. Usually, this takes about 2-3 coats of even application, each one followed by sanding the areas where the paint is gloopy or uneven. You should leave the wall to dry for at least 24 hours between each coat for perfect results
Please note that masonry paint comes in different finishes. Some prefer flat finishes while others like the look of semi-gloss. While flat finishes are okay, semi-gloss has some water damage resistance qualities.
How to Paint Concrete Walls Inside?
The process of painting a concrete wall inside isn’t much different from the previous steps. However, some steps are replaced because it’s not realistic. For example, using a power washer in your basement.
- First off, check the wall for water damage. After all, basements are the perfect environment for it. If there are any signs of a leak, find the source and fix it before you attempt painting the wall. If you paint the wall anyway without addressing the leak, the results will be blotchy and you could be making the problem a lot worse by trapping moisture inside.
- Start by using a broom or a brush to remove all dust from the wall. You can also use soapy water to remove anything stuck to the wall.
- If the wall was painted, scrape the old paint off using a putty knife. This process is kind of tedious, but you don’t have to remove all of it, just the bits that are sitting on the surface of the wall or dangling off of it. If the wall is unfinished, skip this step.
- Sand the wall completely using finer grit sandpaper as you go. It’s a bit time-consuming, but if you care about the look of the finished product, go ahead and do it.
- Apply the sealer, let it dry completely, then apply the first and second coats of primer.
- Make sure the basement is well-ventilated during these steps because some of the volatile compounds can escape through the gas mask and irritate your lungs. If the basement has no windows, prop up a couple of fans directed at the basement door to evacuate the gas buildup.
- Finally, apply 2-3 coats of semi-gloss or flat finish masonry paint. And for best results, finish it off with another coat of transparent concrete sealer. This helps with preventing water damage and makes the paint last a lot longer.
Can I just use drywall paint instead of masonry paint?
Not really. What sets masonry paint, also known as elastomeric paint, apart from drywall paint is that it’s specifically designed to accommodate walls expanding and contracting with the weather and allows the concrete to “breathe” so to speak.
Using drywall paint will make the paint job crack and fall off faster than you think.
How long does the whole project take?
It depends on the size of the walls you’re painting and whether you’re painting in summer or in a cooler month, but it’s in the ballpark of a week (if it’s a small-ish surface) to almost a month.
Don’t rush the drying time between coats of sealer, primer, or paint. This will make the paint job more prone to cracking and peeling. It will also make the final product look unprofessional and messy. Also, check the weather forecast for the following days if you’re painting outside.
Can I paint concrete floors as well?
Of course! This process will work for concrete floors, like the floor of a garage or a warehouse. Just make sure to remove any dust, debris, or oil stains off the floor and power wash them thoroughly before starting.
Also, make sure to start from the far end of the floor working your way to the door, so you don’t get trapped or “paint yourself into a corner.” No pun intended!