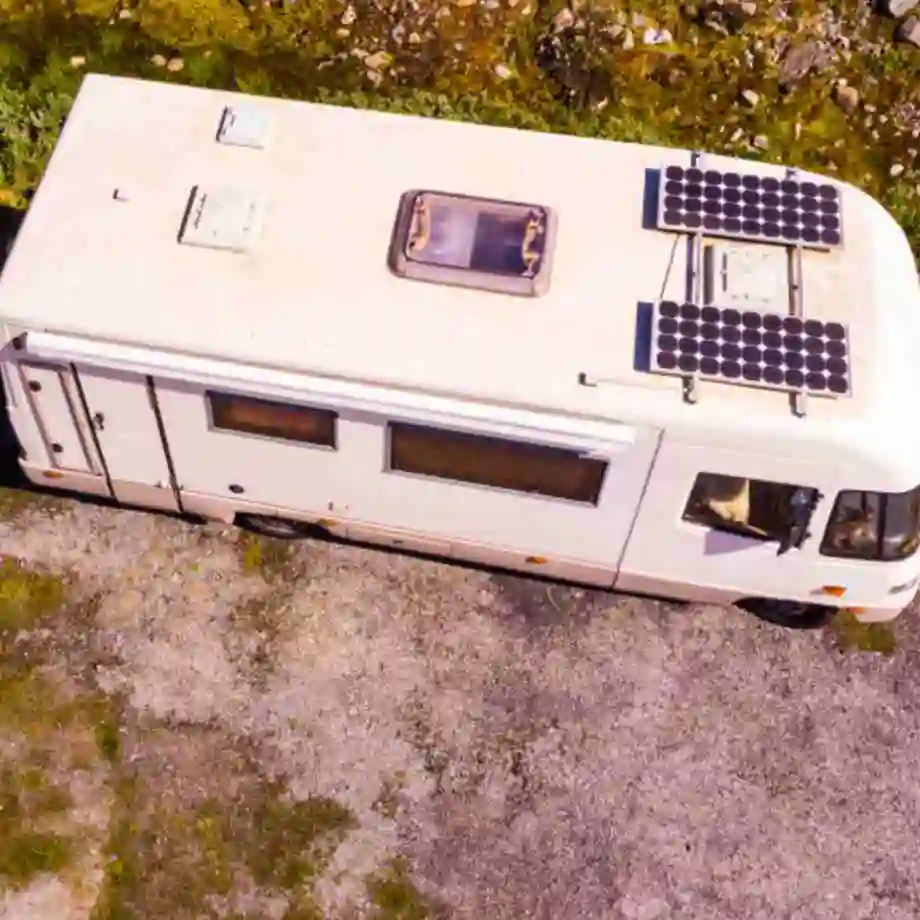
RV solar panels are environmentally friendly with neither fumes nor noise and perfect for outdoor activities such as camping. They work best on dry camps with fewer power hooks, also called boondocking.
The majority of RV solar panels’ power is between 100 to 400 watts, perfect for small and big kitchen appliances.
There are three types of RV solar panels divided into
- Amorphous RV solar panels made from thin silicon cells and have attached material that backs them.
- Mono-crystalline RV solar panels made from single-crystal cell.
- Polycrystalline RV solar panels made from varieties of crystal cells.
Installation of solar panel on RV-All about the different parts
When deciding on how to install a solar panel you need to know that every home set up has a different way to solar panel installation.
Some households use more electric power compared to others. A perfect installation depends on the number of energy required.
It will help you save on the cost of electricity, especially if installed on the rooftop.
Before you install the solar panel on your RV, you must have the following devices. The devices either come together with the solar panel or are separated from it.
The solar panel parts help in converting the generated power into electricity.
Solar panels
The panels come in different sizes and shapes. For you to choose the right number of solar panels, you should first know the amount of electricity that you need.
You can wire more than two solar panels to increase the voltage. You can either choose a flexible or a rigid solar panel depending on the space or the weather conditions of the place you will set RV solar panel.
Lithium batteries
The solar panel comes with durable inbuilt 12V batteries used for storing the energy generated from the solar panels.
The batteries must be long-lasting to be able to save the energy that can take you all the hours that you need.
Battery monitor
The battery monitor keeps track of the flow of power and determines the number of Amp per hour that comes and leaves the battery.
It also helps in establishing an ultimately charged battery and the amount of energy that you require.
Charger controller
Regulate the power flow in and out of the cell and prevents it from overcharging or damaging.
The recommended voltage level of a fully charged battery is 14 to 14.8 volts, if it exceeds, the battery will spoil.
Inverter
There are two types of inverters known as a pure sine wave and a modified sine inverter.
RV solar panels come with built-in inverters. The inverter converts 12v DC into 110AC power, the power used for coffee-making or charging phones.
Switches
The switches are used for connecting and disconnecting panels from solar controllers and electricity from batteries.
The wires
The wires carry the charged energy from the solar panel to the batteries and control box. The size of the cable to use will depend on the diameter that you will cover.
To ensure enough flow of power, use the right size high-quality wire such as copper.
Catastrophic fuse
The RV solar panel comes with an inbuilt fuse use to protect the cable from direct short.
The Installation Process
The RV solar panel requires sunlight to charge the batteries. This process takes place during the day and accumulates the energy for the night.
The collected and stored energy is used in the form of electricity to light up the house or to charge phones or other electronic devices.
For you to have the power, you should follow this simple installation procedure.
- Disconnected all the battery cables
Disconnect all the cables from the battery for safety purposes such as electric shock. After disconnecting all the wires, you can begin with the installation process.
- Take the Roof Measurements
Measure the rooftop of the place where you will put the solar panel. The measurements will help you determine the number of solar panels that you require.
- Connect the control box
After measuring the roof, connect the control box to an accessible place. The control box is connected far from the gas pipes but closer to the batteries and ensures they are protected from weather hazards.
- Assemble the frames and braces
Connect the wire from the frames or braces to the junction box. Keep the solar panel box on the top of the roof through the drill holes. Drill another hole for connecting the wires to the panel.
- Connect the batteries to the control box
After joining the junction box to the control box, use the additional cables to connect the control box to the batteries. In case you are using more than one battery cell, link them together before joining them to the control box.
How Many Solar Panels Do I Need for My RV?
Now that you know how to install a solar panel on your RV, you must be wondering about how many solar panels to install?
Well, the answer depends upon how much power you need and how much panel does each one of them produces?
You may have bought a solar panel of 100W but the efficiency of a panel generally depends upon multiple factors like weather, temperature, time of the day.
The Thumb Rule is that if you have a 100W solar panel then it can produce 30 amp-hours per day.
Another method for calculation is that if your battery has an input efficiency of 240 amp per hour, you should check the output of the solar panel and match them.
Also, remember that on a cloudy day, the efficiency of solar panels drops by 70-90 %. So, it would be better if you install more panels than you usually require, this would either charge your solar generator battery fast or be useful when the day is cloudy.
Recommended Solar Panel for RV

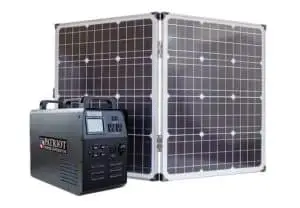
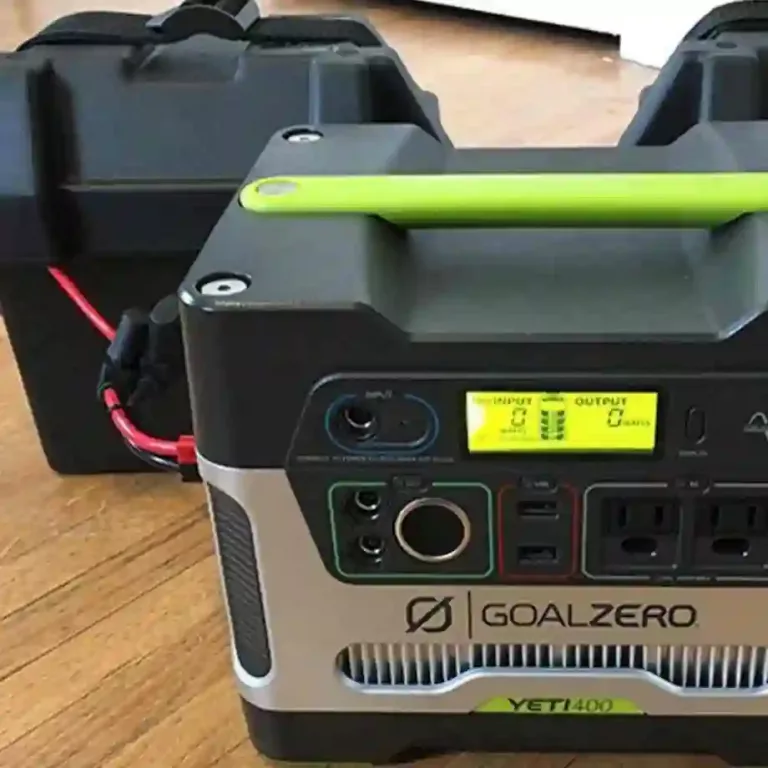
Since I have been using my RV for years now, I have gone through many solar generators that can fulfill my energy requirement. The best one that I have used till now and using is Goal Zero Yeti 3000.
The solar panel that I have been using is Boulder 100 Briefcase. The solar panel is easy to handle and can be chained to another panel easily.
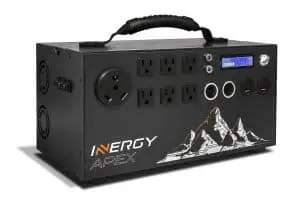
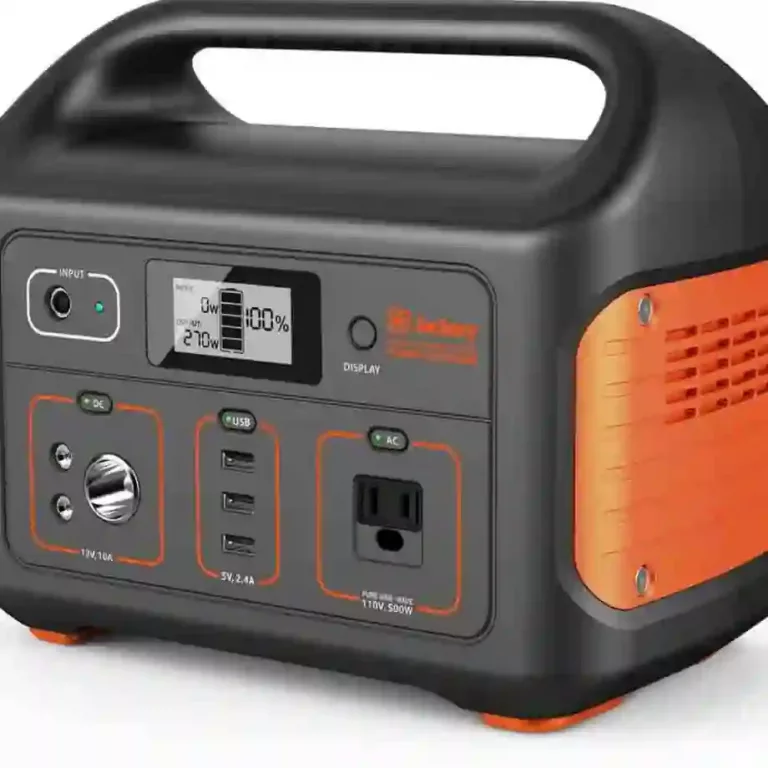
Other solar panels
Conclusion-
The information discussed above will help you learn the installation procedures and the type of tools necessary during the installation process.
RV solar panels are easy to install as long as you have the required devices such as inverter, batteries, charger controller, switches, and wires.
The majority of the people use the RV solar to run activities like camping and not for broad purposes like using in residential homes.
RV solar panel produces enough power use for light, phone charging, and coffee making depending on the number of solar panels that you use.
Now that you know, how to install solar panels on RV, you may not need a professional to help you with installation. Instead, you can install it for yourself.
![Goal Zero Yeti 1400 Lithium Portable Solar Generator Review [2023]](https://howtl.com/wp-content/uploads/2021/09/Goal-Zero-Yeti-1400-Lithium-768x512.webp)