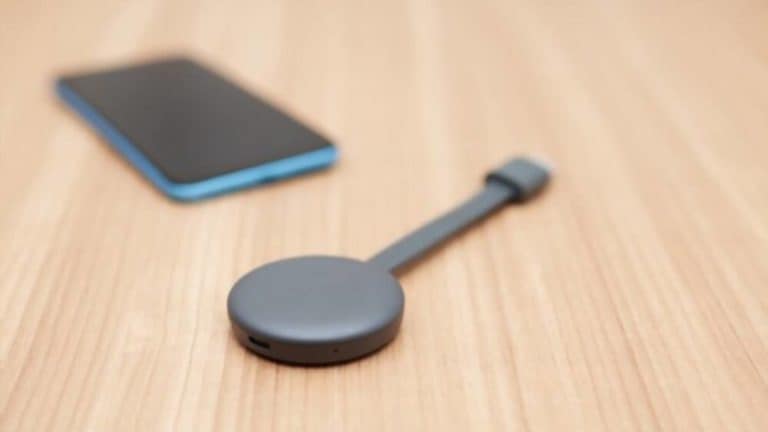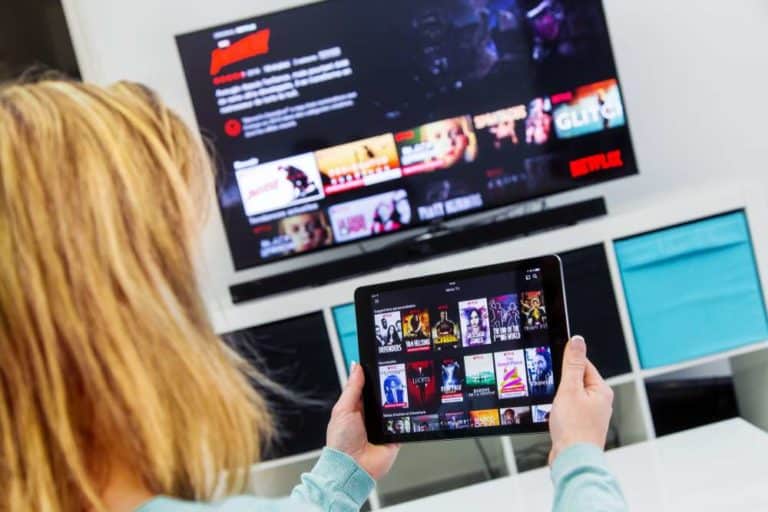
Chromecast gives you the amazing ability to stream movies and TV shows from your phone onto your TV screen without having to purchase a smart TV. You can mirror your iPad onto your TV for a bigger screen. You can even search the web on your TV by connecting your computer to the Chromecast device.
In order to do all of the fun things, you have to first get your Chromecast set up and connected to WIFI. The Chromecast device uses WIFI to receive information from your other devices so that it can display things on your TV. Before you can start streaming, you have to get everything set up and connected.
Steps to connect Chromecast to Wi-Fi
It takes just a few simple steps to get your Chromecast connected and ready to use. Let’s get this done so you can do what you really want to do with your new “Smart TV,” thanks to Chromecast!
Step 1: Plug it in!
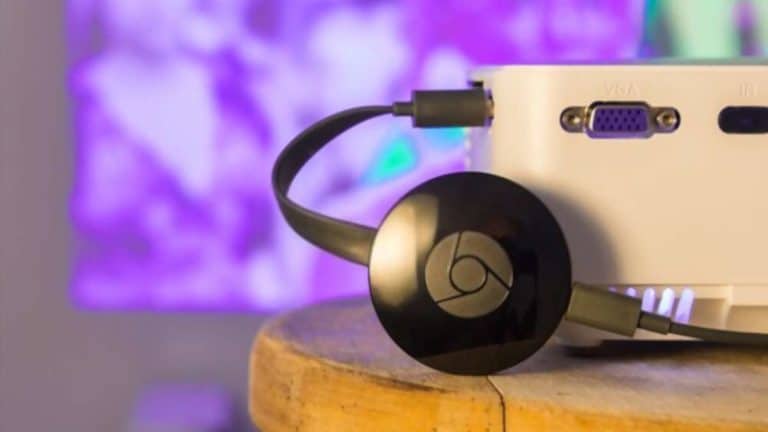
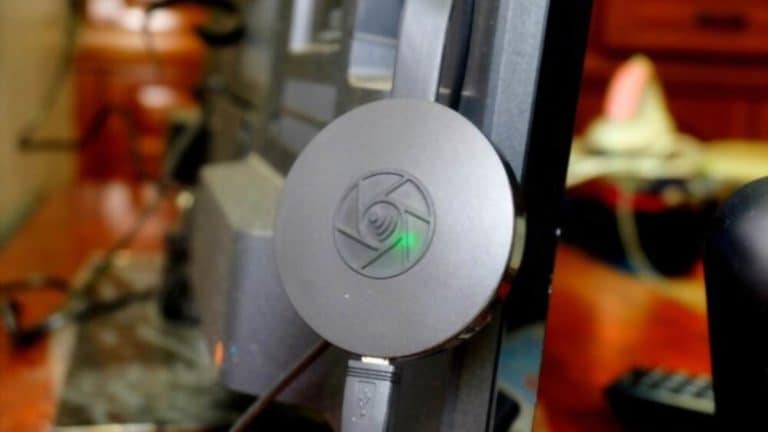
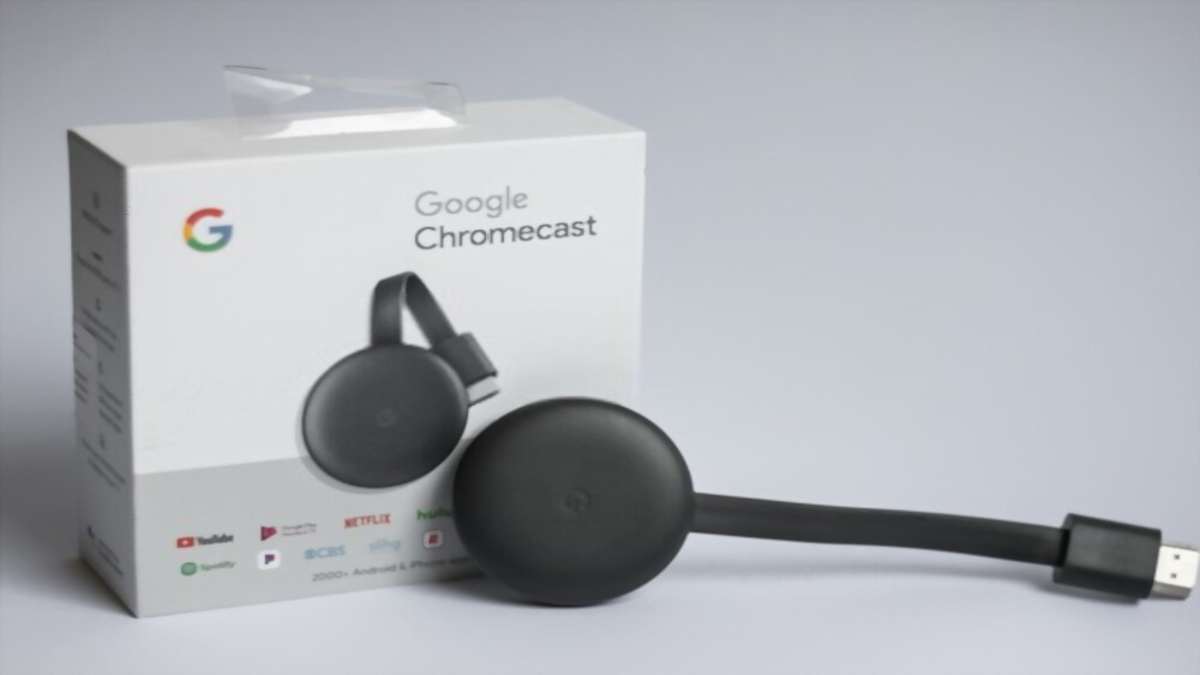
Once your Chromecast is in your hands, take it out of the package, make sure you have the cables you need and plug it into the back of the TV in the HDMI slot. At this point, you can turn the Chromecast on by holding down the power button for a few seconds until the light comes on.
Step 2: Change TV Input
Next, you will have to use the TV remote to change the input setting to HDMI. Notice: If you have more than one HDMI port, you will have to make sure you set the TV to the correct port.
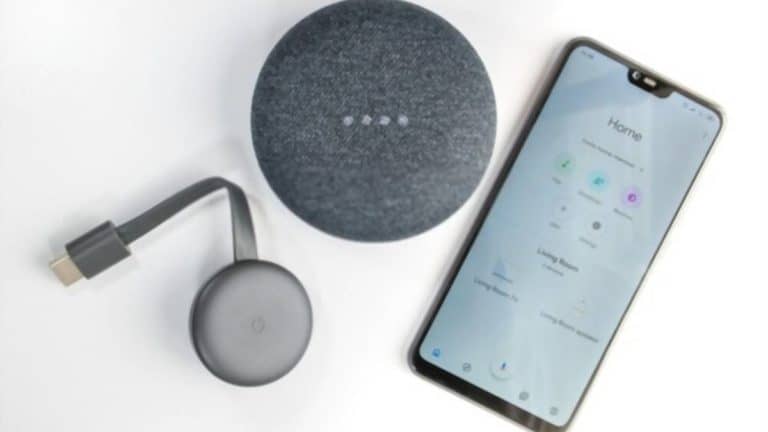
Step 3: Download the Google Home App or Access the Website on Your computer.
For this step, you have two options. You can download the Google Home App on your phone which will allow you to easily access the Chromecast settings on your phone via the app interface.
If you prefer not to download additional apps for the setup, you can open the web browser and go to Chromecast.com/setup to access the same options.
Step 4: Follow the Onscreen Prompts
Whether you choose to use the app of the website, you will see options for setting up your device. Get the code from the TV and input it into your device to connect your device to the Chromecast. This will allow you to mirror your device onto the TV.
Step 5: Connect to WIFI
Once you are connected, your Chromecast should detect which network your phone, tablet or computer is connected to. Then you will be prompted to enter your WIFI password. It is very important that the Chromecast and the devices you want to use with it are connected to the same WIFI network.
If they are not on the same network connection, they will not be able to communicate with each other. If they cannot communicate, it may appear that your Chromecast isn’t working, when in reality, it cannot find the device it is supposed to be mirroring because it isn’t on a shared WIFI connection.
Having Trouble?
If you are still having trouble connecting your Chromecast to your WIFI connection, there are a few things you should check.
- Make sure your WIFI connection is working.
- Move the Chromecast closer to the WIFI router and make sure there aren’t too many obstacles like closed doors and walls that may interfere with the WIFI signal.
- Double check that the password you entered is correct.
These tips should do the trick, but if you are still having trouble, you may need to contact Chromecast customer service for more support.
Connection Success
Once you have set up your device and connected it to WIFI, you are ready to stream! You can use it to make your screens on your other devices larger, set up a movie night for the family in your living room while streaming from your phone, and even use it to give a presentation on an outdated TV in the office.
With a decent WIFI connection, a basic TV, your Chromecast dongle, and your device, the possibilities for fun, productivity, and quality time with the wonderful people in your life are endless. And now you can have a big screen TV with Smart TV qualities without have to pay Smart TV prices.