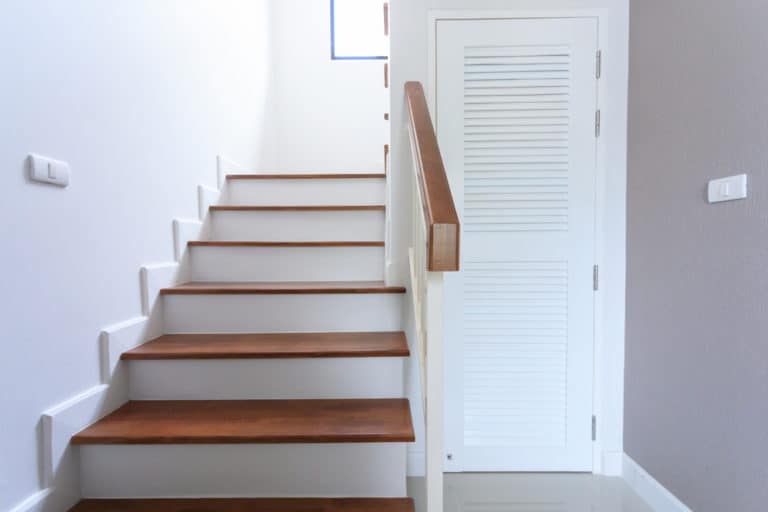
A newel post is a vital part of a stairway that has to made correctly, or else the stairway may crumble since the newel post is the weight-bearing part of the stairwell. It is advisable for an experienced who has vast knowledge in making these posts to make them.
Newel posts also support stairways by supporting the poles. Newel posts can be found at the bottom or top of the stairway, where support is well enhanced. You can also find newel posts at corners where a stairway has been designed to change direction.
Apart from support and bearing weight, newel post also has an aesthetic value and purpose. Architects and designers use newel posts as part of the home interior because they can be used to set a beautiful tone for a house.
They set a distinct and visual attraction for the entire house; Visitors will appreciate the different designs used on newel posts because the eye is usually attracted to the interior that is up or down in a room.
The newel post can also be carved beautifully, improving the aesthetic value. The finish is also applied to exposed wood, making it more attractive.
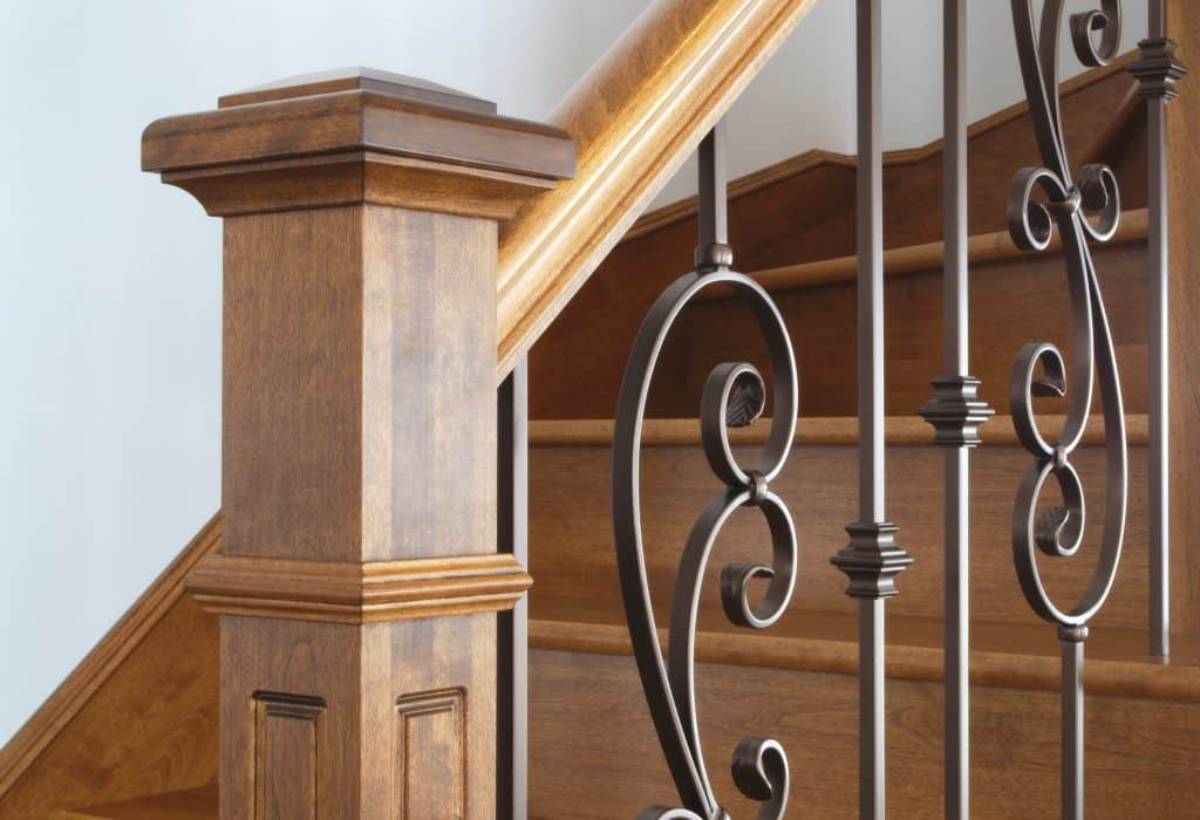
To ensure an active newel post, you have to make sure that it is designed correctly and the right materials are used. Materials commonly used for newel posts are wood, cement, or wrought iron.
Home décor inspires the type of content that you want to use to make the newel post. Different types of wood, such as oak, pine, hemlock, and poplar are used to make these posts.
For home lovers desiring a beautiful home, matching your home décor and your stairway will bring out a stunning effect. Using the same wood used on the stairway for newel post is advisable if the wood used was exposed timber.
Understanding different Types and designs of a newel post
Newel posts are classified into two groups, i.e., box newel posts and turned newel posts. It is the major grouping, according to different companies and hardware that sell them.
Choosing what type of box newel posts is determined by the distinct taste and preferences. Box newels can be made by a rectangular panel which has to be four in number to make a hollow box newel post. It can also be made from one block of wood that is not divided into four.
The box newels have fluting or groves added to improve their aesthetic value. Turned newel posts are more complicated because they have both round and square sections joined together to make a complex structure.
Experienced designers to put their different ideas and produce a unique newel post often carve freeform-carved newel posts manually. Technology is also used in designing newel by use of computer designs to make carved newel post.
Newel posts designs have evolved over the years, bringing about different and unique designs that improve both the durability and aesthetic values of the posts.
Designs are influenced by factors such as the materials used, the style of carving, inlays, paints, and polishes, and even shapes.
Different models include the handcrafted, Victorian, mid-century, and the, modern designs which are improved by the technology influence in this field.
Placing finials that top the newel post brings out a beautiful design by using decorations such as spirals or circles on top.
Newel posts are also classified into four types, i.e., stabilizer newel posts, standard newels, landing newels, and pin-top newels.
Stabilizer newel is the best when the rails need more support acting as the perfect anchor for the stairway. Landing newels are used where there is a height change, bring about a level change.
Landing newels are in the middle or upper landings to enhance support. Pin-top newel is common at the bottom of a continuous set of handrails. Standard newels are used where the bar and the railing system are at the same height.
Steps of making newel posts sturdy
Step 1 – Building a base-
A newel post is usually supported by a station, especially the newel posts that are supposed to be at the bottom of the stairway. Since the newel serves as an anchor to the stairwell, it is crucial to ensure that you build a durable and robust base.
If the bottom is not developed correctly, there is a high chance of the stairway crumbling due to the weak support system by the station. A base of three inches will serve the right purpose in supporting the post. The base is formed by making two separate pieces of wood joined to surround the post all round.
Step 2 – Assembling the panels
Commonly, people use rectangular-shaped newel posts because they are easily assembled. Unless you want to create a different design, rectangular newels are the easiest to make.
Getting the correct measurements of the pieces of wood that you desire to use is the first step in assembling the panel. Making sure all the four sections of wood have the same measurements ensures that the post will not have some corners protruding above the others.
Marking the parts at the edges where they will be joined ensures that the measurements are correct. Pencils make clear marked points that are distinct, preventing any confusion. Commonly carpenters join these edges by using glue that ensures the parts are fixed together.
The pieces are left overnight to enhance drying. It is vital to ensure that you request the right adhesive used on wood because if the wrong adhesive is used, the edges will not stick together appropriately. This simple process does not require an excellent labor force or sophisticated tools.
Step 3 – Designing the tops:
Tops can be designed differently according to the creativity level of the carpenter or the interior designed assigned to create the home décor. Crowns are made separately from the poles and joined by the use of wood glue.
A rotary tool is used to smoothen the edges if the owner does not desire square shaped tops. Tops’ designs are enhanced by putting creating in practice where some people prefer buying from stores that have ready-made tops. Some people prefer to carve shapes of their desires on the top to bring out an aesthetic effect.
Step 4 – Fixing the newel post on the staircase
This is considered as the final step in installing these posts. Using ledger locks or timber locks is advisable because it ensures the stability and durability of the newel posts.
Timber locks or ledger locks are preferred because compared to screws and bolts, they hold the edges of the newel post tightly. It is a process that does not require a lot of labor since drilling is excluded in the process.
Timber locks and the ledger locks are readily available in stores or hard wares that sell carpentry and building tools. There are different timber locks made according to the thickness of the posts supposed to be installed. It is made possible by the presence of tapered heads that come with the timber locks.
Step 5 – Using bolts or lag screws
Using bolts or lag screws is also a method of installing newel posts preferred if you want to avoid tedious work. If you plan on using bolts or lag screws, you have to drill the holes where the pins or the lag screws will be fixed.
Lag screws’ shafts do not penetrate through the wood entirely, unlike the bolt holes. Since the holes of the lag screws do not comprehend, they tend to wear off sometimes; thus, you may need to consider that when choosing lag screws.
However, you can drill them again in case they wear off. Worn off lag screw holes may lead to weak and shaky banisters the problem arising from the newel post.
Replacing the old screws is also advisable if the wood around the screws is worn off, and you need to drill new holes.
Bolts are tightened because they penetrate to the other side; you are able how loose or tight they are.
Step 6 – Installing using a steel mounting plate
Installing using a steel mounting plate requires more labor compared to the other two, but it ensures permanent installation. This process requires expertise for a professional because it is a complex process.
An additional seven inches are needed because this is where the mounting sleeve is put; therefore, measurement has to be adjusted if you plan on using mounting plates.
This process is more expensive since you need epoxy, drill bits, and a drill to complete the process.
Jigsaws make perfect outlines, but marking the specific locations ensures that you make an ideal outline. Allen wrenches are used here to tighten the screws efficiently.
Conclusion
Having the right tools and equipment makes the process of making newel posts more natural and safer. If it’s the first time you are installing these posts, its good to have the company of an expert to guide you through the process.
It is vital to follow all the steps and use the right materials to avoid making a faulty stairway that may cause accidents later. Materials used should be durable to save the cost of repairing newel pots now and then.
How you make, a newel sturdy is influenced by all the factors and processes stated above. People feel safe when they know that the stairway they are using is supported by sturdy newel posts.
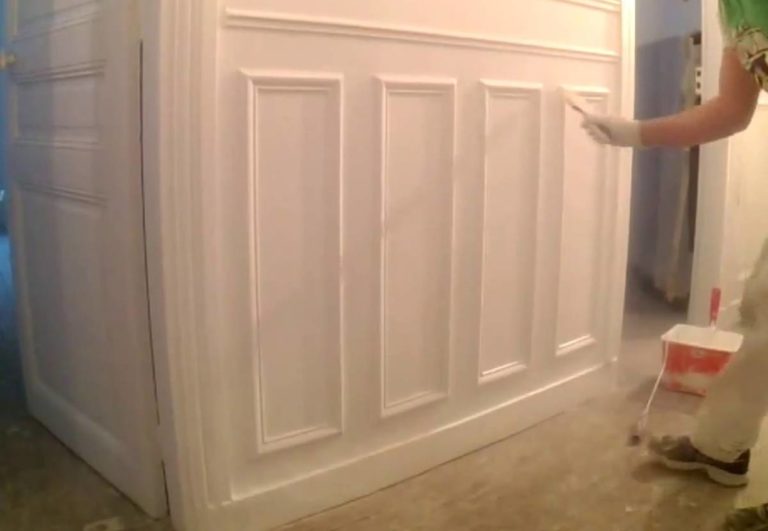
You can also go through this post to know how to add wainscoting to the stairs?