Bubbles can occur in drywall tapes because of many reasons. Air, inappropriate installation or humidity are responsible for these annoying bubbles in your drywall tapes.
But now to worry, here are my simple ways to fix this issue.
- Firstly, remove any hard drywall compound and then remove the bubbled part of the tape by cutting it with the help of a utility knife.
- Now you are required to spread joint compound with the help of a putty knife into the seam and locate another fresh tape where the bubble has cheapened off.
- Make sure that the fresh tape is located properly on both ends.
- Another layer of joint compound should be put in with the help of a putty knife and smoothened.
- Now, leave the joint compound for at least 24 hours to let it dry properly and after drying you can proceed with sanding and apply another layer of joint compound if needed.
If you are going to drywall your basement, you must read our blog “Do you need a permit to drywall basement?”
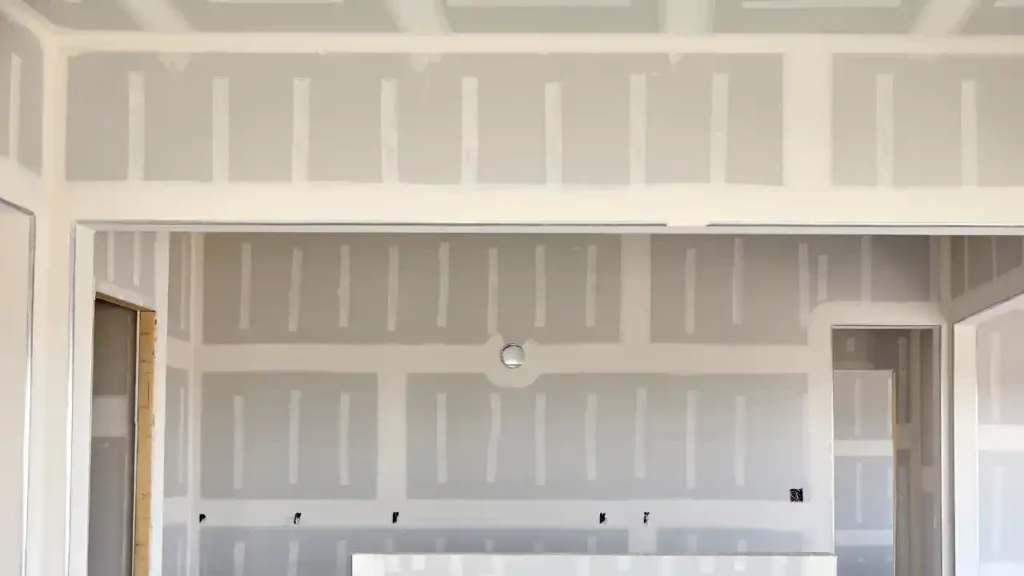
What is Drywall Tape?
It is a specialized tape that is used to seal gaps between sheets of drywall and create smooth, seamless wall surfaces. It usually comes in rolls and can be either paper or fibreglass material.
- The tape helps prevent the cracking of the paint on the walls, as well as providing additional insulation against air and moisture infiltration.
- It is very important to use a special wallboard tape that has adhesive on both sides. This type of tape helps the tape to stick better and last longer. Make sure you clean the area before applying the new tape to remove any dust or dirt.
- Drywall should be cut with a utility knife and then press it firmly into the joint compound and use a putty knife to spread the compound evenly over the tape.
- If you have used too much joint compound, then it is important to scrape it down with a drywall trowel after being dried off.
- While installing new drywall tapes, make sure that you apply a coat of primer first. This helps avoid air bubbles and provides a smooth surface for the tape to adhere to.
- Make sure you use enough joint compound and keep good ventilation in your room when using these tapes. This will help reduce humidity levels which can cause air bubbles. With correct installation and proper care, you can easily get rid of bubbles in your drywall tapes.
You can follow these steps and enjoy a smooth wall surface.
Why is My Drywall Tape Bubbling?
What causes drywall to bubble? Drywall tape bubbles because of the following reasons:
- Lack of ample joint compounds in the tape which can support sticking to the drywalls.
- After drying out, the areas which did not have enough joint compounds that form bubbles and result in uneven and bad looks.
Most professional drywallers admit that because of the bad installation operation, bubbling in drywall tape happens.
You can expect the perfect and smooth drywall from expert drywallers but still, it can be done by yourself by following the process discussed in this article.
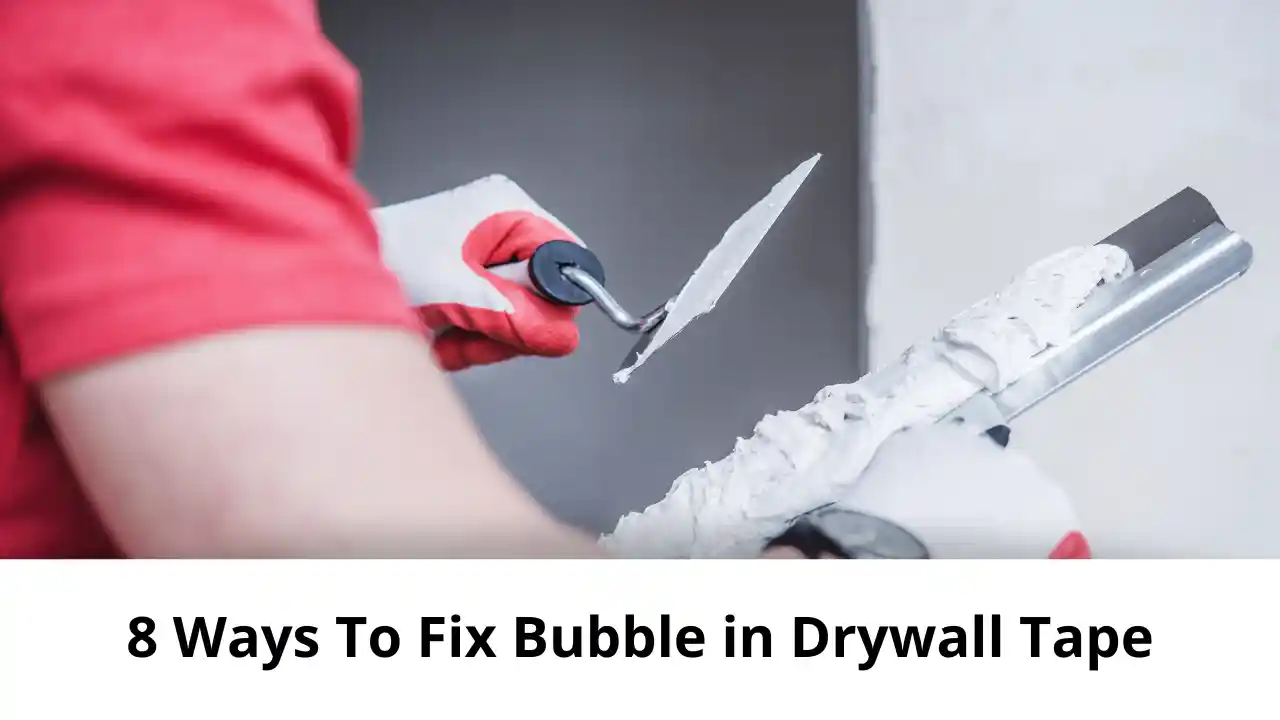
How To Fix a Bubble in Drywall Tape? 8 Easy Ways Explained!

Removing and fixing air bubble issues in drywall tape does not take long. If the below steps are followed diligently, you would be amazed to see the results. It’s going to be a seamless finish which looks amazingly beautiful after the final painting is done.
To obtain the best result and perform the process effectively, you need the below tools.
Tools Required
The main tools required to fix drywall tape bubbles are:
- utility knife,
- joint compounds,
- putty knife, and
- Patience, (the most important thing needed to perform the process efficiently.)
Chip Away Hardened Drywall Compound
First, I want to clarify that this step should not be performed if the joint compound is yet to be dried and a bubble in drywall tape is noticed.
Follow the below steps to Chip Away Hardened Drywall Compound
- You can opt to purchase this joint compound putty knife and use the smallest one to remove the hardened drywall mud.
- You need to chip off the joint compound which is completely dried carefully. Continue the process till the bubbled tape part is seen.
- Keep on removing the joint compound till the bubbled part is visible.
Even if the bubbled portion of the tape is getting hampered, do not worry. This would be replaced in our next step. But ensure not to impact the nearby areas of the wall as it would make the whole process very much expensive.
Cut Out the Section of Bubbled Tape
Once you’re done with chipping off the thin layer of the dried joint compound, it’s time to cut out the section of bubbled tape.
You need to take the utility knife and slowly insert it between the drywall tape & wall surface.
Continue this process for a few inches on both sides of the bubble.
Make sure you do not damage the wall.
Apply New Drywall Tape & Joint Compound
Once you’re done with cutting off the tape, it’s time to apply new drywall tape & joint compound.
Take a fresh piece of drywall tape and stick it over the section which was cut earlier.
Press it firmly with your finger and let it settle.
Now, take a good amount of joint compound to spread over the drywall tape on both sides.
Spread it even with the help of putty knife so that no air bubbles are formed.
Let the wall dry & Smooth Bubbled Areas
Leave your repair work undisturbed for some time i.e. let the joint compound be dried.
Once you’re done with letting it dry, just sand the bubbled areas with fine sandpaper.
Apply some more joint compound to smoothen the wall even more and repeat this step until the desired texture is seen.
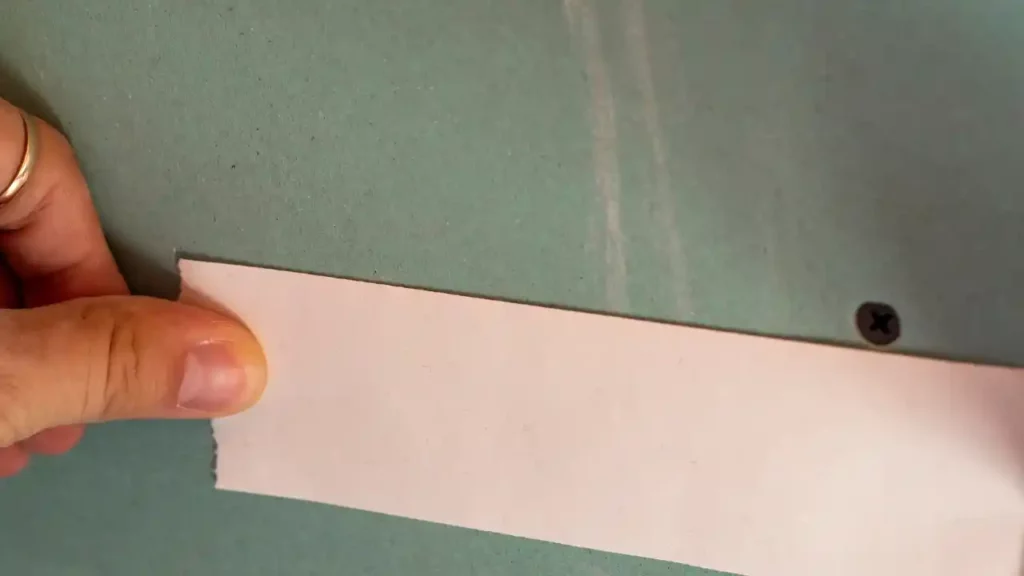
Cut a New Piece of Drywall Tape to the Length of the Gap
Next, cut a thin piece of drywall tape to the same length as the gap. It is important to use a sharp utility knife and to make sure that you have enough overlap on either side.
Once the tape is cut, fold it in half with adhesive sides together and crease it along the fold. This will help ensure that the two sides of the tape press evenly adhere to either side of the gap.
Apply the Drywall Tape to the Area
Now that the drywall tape is cut to size, it’s time to install it. Start by lightly misting the area around the gap with water. This will help activate the adhesive on the tape and make it more malleable.
Then carefully press the drywall tape into place, making sure that you have good adhesion along either side.
Use a drywall knife to press down any excess tape and ensure good contact with the surrounding wall.
Finish with Joint Compound
Finally, apply joint compound over the entire area including the newly installed drywall tape. Make sure that you use a liberal amount of joint compound dries, and feather it out in all directions.
Allow the Joint Compound to Dry
This is the last but most important step. After repairing you need to allow 24 hours to dry out and let the joint compound set thoroughly.
How Do You Fix Bubbles in Drywall Tape After Painting?

If you have already painted your drywall tape and are not able to observe any bubbles in it, it is still suitable to follow the steps discussed above in this article to overcome the issue.
It is possible to make the process easier by applying sand to the air-bubbled areas.
Now take a putty knife or peeler to remove the hardened joint compound.
Then remove the air-bubbled part of the tape and put a joint compound and again paint it carefully.
Is it Normal for Drywall Tape to Bubble?
Bubbling in drywall tape is common and even sometimes professionals drywall installers also need to face the same problem.
Thus, if any inexperienced person is facing this problem then just consider it as a common situation.
But yes! It is not wrong to say that bubbles in drywall tape definitely hamper the overall look of the wall if not renovated.
I always recommend fixing this issue as and when encountered.
Can You Paint Over Bubbled Drywall Tape?
It is never a good idea to paint over bubbled drywall tapes. When the drywall tapes remain unpainted, the bubbles are not observable too much but as and when they are painted the more bubbles form and flaws become easier to spot.
It is always considered best to repair the bubbles on painted walls first before painting them and this enhances the look of your drywalls.
Can You Sand Down Drywall Tape?
It is not possible to Sand Down the bubbles of Drywall tape. When air is caught, drywall tape bubbles are formed. When these drywall bubbles are sanded, sand is filled inside the tape and the objective of putting the drywall tape is not fulfilled.
At last, the uncovered portion of the drywall seam is torn, shrinks and overall ruins the look of your drywall tape.
Rather than Sanding your drywall tape, it is best to follow the steps discussed above in this article to resolve the issue.
How Do You Fix Bubbles in Drywall Mud?
It is very simple to fix these annoying bubbles in Drywall mud. You simply need a putty knife, utility knife, joint compound and lastly a roll of paper tape and you can complete this fixing process easily.
Here’s how it is done correctly:
- To remove any hardened joint compound covering the air bubble, use a putty knife.
- Cut through the tape on both sides of the bubble and remove the affected portion of the tape to fix the bubble.
- Now, apply a new joint compound on the spot where you have removed the tape.
- Cut a piece of tape that is long enough to cover the gap left after removing the old tape. It should also be able to overlap with the existing tape at both ends.
- To make the new tape blend seamlessly with the premixed joint compound, use a putty knife to smooth it over the surface.
- Apply the fresh joint compound over the tape to get a smooth and bubble-free finish.
- Now Wait 24 hours for the joint compound to dry, then sand and apply additional coats of joint compound.
Tips To Prevent Bubbles in Drywall Mud/Tape
There are several reasons why bubbles may form in drywall tape, but with careful attention to detail and proper technique, many of these issues can be avoided. It is also important to use the appropriate type of tape for the specific job.
Ensure proper tape usage:
use the appropriate strength for the job, apply the tape correctly by letting the adhesive set before finishing the joint, applying it properly to the surface, and ensuring it is the correct distance from the surface.
Also, measure and mark the joint correctly.
To ensure accuracy, measure and mark the joint and both pieces of drywall correctly. Be careful when applying the adhesive, using only the appropriate amount – neither too much compound and nor too little.
Conclusion
Fixing bubbles in drywall tape is not an impossible task and can be done easily by following the steps discussed above. All you need to have is some patience, the necessary tools, drywall joint compound and paper tape!
You must take your time to get rid of all the air bubbles before applying paint over it otherwise it will ruin the overall look.
Be sure to sand down the joint compound properly and make sure that it is not too thick so that your wall looks aesthetically pleasing after you are done fixing it!
Good luck with your home repair work and have a pleasant day ahead!