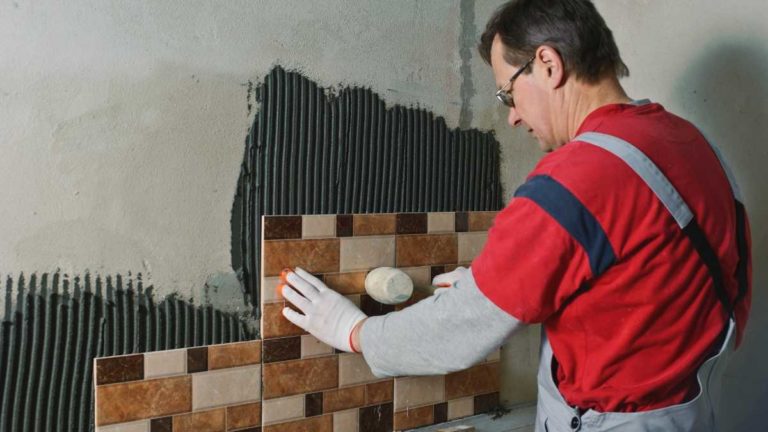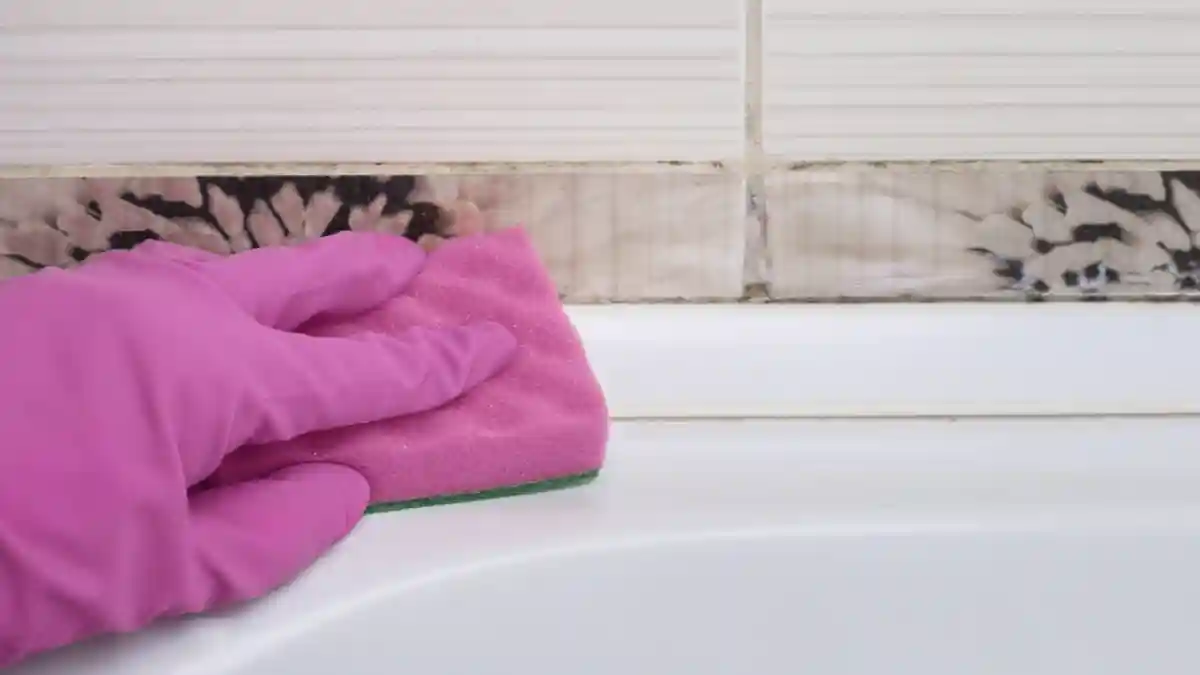
Caulking is an essential part of any bathroom in contemporary homes. Its primary function is to prevent moisture from leaking into any unwanted areas. Caulk sometimes needs replacing, but the old caulk must be removed completely before the new caulking is applied.
The best way to remove caulk generally consists of a chemical caulk remover and manual tools. There are several other options that do not use chemicals, using only manual tools such as a caulk remover or razor scraper, and another method that involves using a hairdryer.
While none of the methods for removing old caulk are necessarily better than the others, some are simply easier to perform. Suppose you are the type of person who does not tolerate chemicals very well. In that case, a non-chemical removal method might suit you better.
Some methods are better suited to different surfaces than others, and so the surface of the caulk must be carefully considered.
How To Remove Old Caulk?
Caulk is designed to fill any cracks and seal any joints around areas such as windows, doors, plumbing fixtures, siding, and other fittings. While it does its job effectively, it tends to wear out over time and must eventually be replaced.
It is essential, however, that the old caulk be removed completely before the new caulk can be applied. This is because any new caulk will not be able to stick to the existing caulk.
As a result of this, if the old caulk is not properly removed, the new caulk will not form a watertight seal, causing moisture to seep into areas where it is not wanted.
While there are presumably countless methods of caulk removal that each employ their own respective tools and methods, the four chosen for this article were selected as being the best options for several reasons.
All four methods employ the use of items and materials that can either be found easily around the house or can be purchased with ease at most retailers.
The best method is one that employs a combination of a chemical caulk remover and manual tools. This ensures the caulk is properly removed and all residue is eliminated before the new caulk is applied to the bathroom surfaces.
The other methods are mostly as effective, and some do not use chemicals, making these a more attractive option to those who do not wish to employ the use of any chemicals in their home DIY.
Method 1: Combination of Chemical Caulk Remover & Manual Tools
By using a combination of a chemical caulk remover and manual tools, you can be assured that your surfaces are completely free of any caulk residue before you embark on the application of your new caulk.
The chemical caulk removal solution breaks down the bond between the old caulk and the surface to which it is attached. This could be a bathtub, basin, or tile. It’s important to note that different caulk removal solutions are designed to work with different types of caulk, and others are more compatible with certain surfaces.
Ensure that you do your research to ensure you select the correct product that will perform best with the existing caulk as well as the surfaces to which it has been applied.
To do the job, you will first need the chemical caulk remover of your choice, as well as some rubbing alcohol and some clean cloths. The only tools you should need for the job are a putty knife and a removal tool or scraper.
In order to remove the caulk, you will first need to apply the chemical caulk removal solution. This is done by squeezing the remover over the existing caulk, ensuring that all of the old caulk is completely covered.
Next, the caulk will need a bit of time in order to soften from the chemicals. You can leave it overnight to ensure maximum effectiveness.
The next step involves scraping away the caulk. This can be done using a putty knife made of plastic. It’s best to try and peel it off in strips while scraping to ensure easier cleanup. Next, you should carefully inspect the entire area and remove any last remaining bits of the residue using a specially designed caulk removal tool or a razor scraper.
Now that the residue has been removed, clean all the surfaces properly by using a clean cloth soaked in rubbing alcohol. Ensure that the surfaces are able to dry properly before you begin applying your new caulk.
Method 2: Caulk Removal Tool
If you are not partial to the idea of using a chemical caulk remover, you can simply make use of a caulk removal tool to complete the job. These tools often come as part of the kits used in applying new caulk.
The best tools for these methods are manufactured using plastic or polished steel. This is beneficial because they will not cause any scratches to surfaces, and the tools are made with specific angles and blades that are designed to ensure caulk can be scraped out of narrow crevices and small corners.
Using the caulk removal tool, simply scrape away the old caulk as carefully and slowly as possible. This will avoid scratching the surrounding materials and will ensure that the caulk can be removed as fully as possible.
Method 3: Razor Scraper
A razor scraper is an excellent tool that utilizes a sharp blade to remove the existing caulk. Ensure that the blade’s edge lies completely flat on the surface to ensure that no scratching of the surface can occur.
The best way to remove caulk using a razor scraper is to scrape behind both sides of the bead of caulk before peeling it off.
Ensure that the blade’s corners do not touch the surface below, as this will almost certainly cause scratching.
Method 4: Hairdryer
The hairdryer method is great if you need to remove caulk without the use of chemical caulk removers. All you need to do is heat up a small section of the caulk bead at a time using the hairdryer before using a razor blade to slice through the caulk before peeling it off in long strips.
Conclusion
Whichever method you use to remove your old bathroom caulk, always do your best to ensure that you remove all of the old caulk and its residue completely. This will ensure that the new caulk that you apply will be able to attach effectively, and it will create a watertight seal that will prevent the ingress of any moisture into any unwanted areas.